
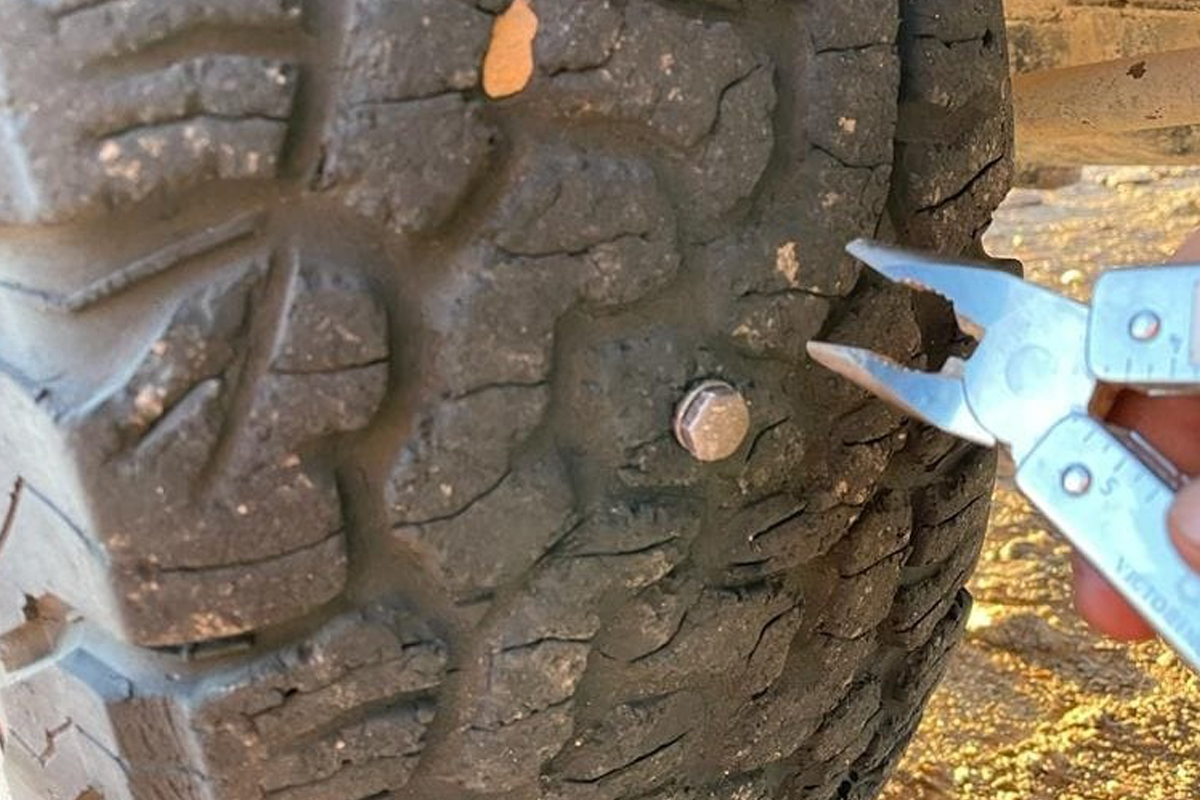
You should of course carry a spare tire on a trip: at least one. Even a second one? When traveling to remote areas, or in case the tire size can’t easily be bought in the country in question, that’s a good idea and not at all unusual.
But what do you do when repairing a mounted tire is unavoidable? In fact, patching it after, say, a screw has been driven in is no problem at all and easy to do with a small tire repair kit.
A tire repair kit like this from T-Max, from our range, is also on board Defender Olga, which you may already have read about here in the magazine in connection with the water system upgrade. Olga’s tires have already been patched this way several times by her owners Martina and Toby – they’ve had more than enough screws driven in.
We hope you won’t have to develop a routine for patching tires while traveling, but of course this problem is not a rare one. That’s exactly why you should be well prepared and know how it’s done. So here is our short step-by-step guide to patching a tire with the T-Max tire repair kit.
Martina and Toby have provided us with their footage of the repair – you’ll see how easy it is and how little effort it takes to get going again, thanks to the right equipment.
Patching a Tire with a Tire Repair Kit and Self-Vulcanizing Strips – Here We Go
Materials You Need:
- T-Max tire repair kit
- Compressor
- Soapy water solution (optional)

T-Max tire repair kit with self-vulcanizing strips for repairing treads, accessories and a set for patching inner tubes.
How to Patch a Tire, Step by Step
1. Prepare the repair
Park the vehicle in a safe spot, away from traffic.
Make sure the handbrake is on, the vehicle is in a stable position, and switch on the hazard lights.
2. Remove the screw or find the leak
To find a hole that isn’t immediately visible more easily: use the compressor to put more pressure into the tire. To help, you can wet it with soapy or dishwashing water, and then you’ll see the escaping air from the bubbles that form.
If the screw is still in the tire, pull or twist it out.
Take care not to damage the tire any further if possible.

3. Carry out the repair
Use the reamer included in the tire repair kit to (carefully!) widen the hole or cut. This makes it easier to insert the sealing strip.
Take a sealing strip from the kit and thread it into the eye of the insertion needle.
Using the tool, place the strip in the hole in the tire tread – to do this, push the tool with the sealing strip into the tire up to the spacer.
Slowly pull the tool out, which leaves the sealing strip in the tire and seals the hole.
Cut off the excess length of the strip with the knife.
4. Check the seal
Inflate the tire again with the compressor to the recommended pressure.
Check the seal by spraying a soapy water solution or a leak detection spray onto the repaired area again. Proceed carefully and make sure before driving on that no more bubbles form and no air is leaking.
And here’s a little special tip from Toby if inflating takes too long for you *wink*.
Important note
Repairs with self-vulcanizing strips are super durable. You don’t need to be afraid to drive a long distance with one to the next tire dealer or similar. Nevertheless, a patched tire is ALWAYS a tire that needs replacing soon. On German roads, this repair is no longer approved for permanent driving.

Did this tip help you? Share it with friends and like-minded people!
These topics might also interest you:


