If your auxiliary heater doesn’t deliver full output, the cause usually isn’t the heater itself. The problem is more likely down to the installation or external influences. Replacing the heater would therefore not solve the problem – heaters sent in to us normally run flawlessly on the test bench in such cases.
But what exactly could it be? Here are the most common reasons and what you can do about them.
Check the Warm Air Ducting
The installation position of the heater and the routing of the air ducts have a considerable influence on heating output. Many or tight bends in the ducting increase flow resistance and can reduce output significantly.
Here is how you can test whether this is where the fault lies:
- Remove all of the warm air ducting and let the heater run for at least 30 minutes on the highest setting. The fuel pump of the Autoterm Air 2D should now make 90 clicks per minute, and on an Air 4D about 120.
- If this condition is met: measure the temperature directly behind the heater – ideally at several points across the cross-section, since the temperature there can vary quite a lot. A roast thermometer, for example, works quite well for this. The measured value should be about 70 kelvin above the intake temperature.
If the required temperature difference is present without the air duct, but no longer with the duct connected, you have found the cause: in this case the ducting creates too much resistance and causes a heat build-up. The heater therefore throttles itself down as self-protection, but doesn’t output an error message when it does.
Tip:
If the heater has already been running throttled for a longer time because of excessive flow resistance (in milder seasons this often goes unnoticed at first), soot has very likely built up.
So let the heater run at full load for at least one hour without the air duct so that it can burn itself free of soot.
Afterwards, the ducting should be optimized so that the heater can work unhindered. You will find detailed notes on this from page 24 of the installation instructions.
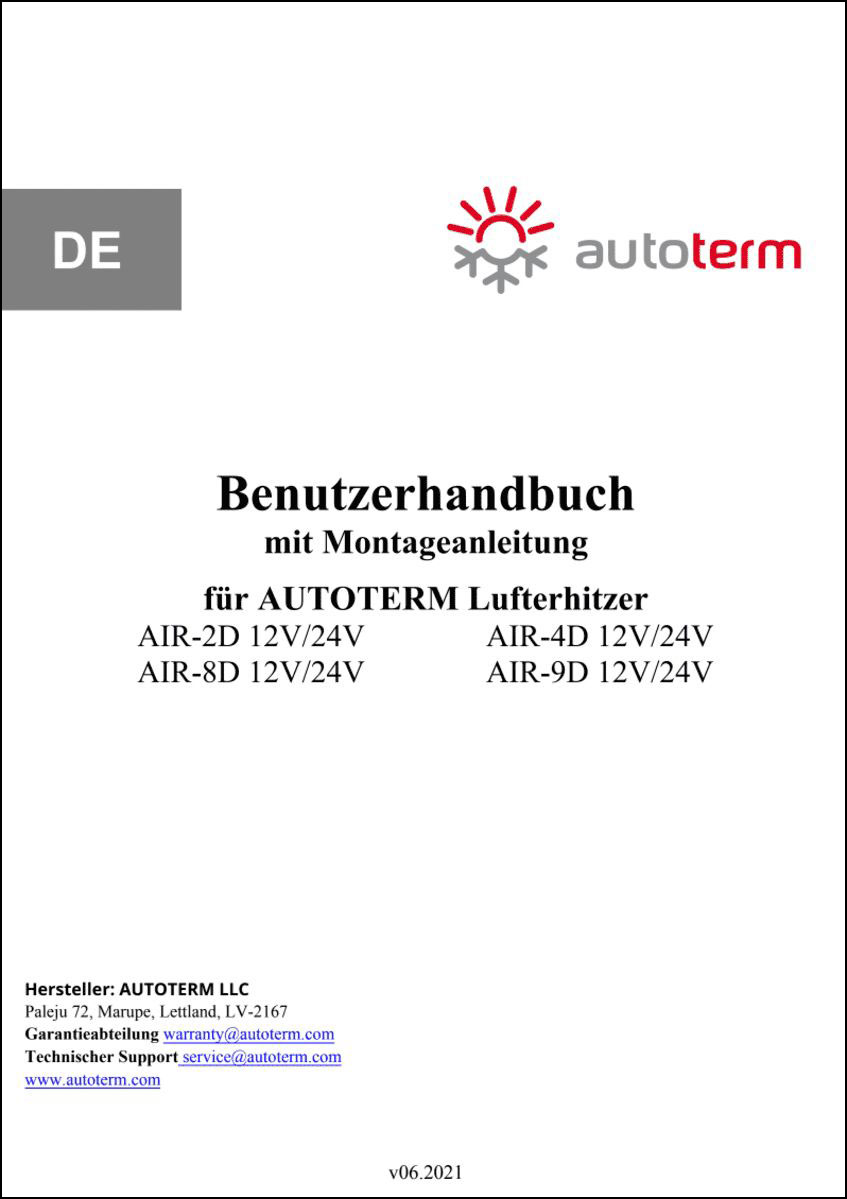
Here you can download the installation instructions for the Autoterm auxiliary heater if you no longer have them.
Check the Room Air Intake
Faults can also occur in the room air intake area. Installing the heater in a closed box or a generally tight installation situation in particular can lead to the following problems with air volume or intake temperature:
The heater doesn’t get enough air.
If the heater is installed in a closed box, check whether there are enough ventilation slots and whether they are clear. Not only quite a lot of dust and fluff can collect here from the constant air intake – socks or other small items of clothing often fall in front of it, or luggage in storage compartments blocks the intake.
If a separate intake duct has been installed, check that for blockages as well.
Radiated Heat From the Heater Itself Is Drawn In
When the heater is running, it doesn’t just produce warm air that is carried through the ducting to the air outlets. It also gives off heat to its immediate surroundings. If the space the unit is in is very small and poorly ventilated, the temperature there can rise sharply.
If the heater draws in air from this space, already pre-warmed air enters the unit. If the intake air exceeds a temperature of 27°C, the heater reduces its output to avoid overheating.
During installation, make sure the heater is well ventilated and that heat can be dissipated – even if the intake duct draws air from a cooler space.
Check the Exhaust Pipe and Combustion Air Supply
The routing of the exhaust pipe and the combustion air intake also strongly affects performance. Tight kinks or blockages can seriously impair operation.
Problems can arise here, for example, from:
- Dirt from mud, snow or soot on the exhaust pipe or the combustion air supply
- A clogged or irregularly cleaned intake filter
Regular maintenance of these components prevents loss of performance and ensures reliable heating.
Ensure the Fuel Supply
Last but not least, the heater needs a steady and sufficient supply of fuel.
How did you set up your fuel draw-off? T-piece? Tank pick-up?
In what position are the pump and filter mounted? How long is the distance from tank to pump to heater?
Here are some important points to check:
Fuel Pre-Filter
If a pre-filter has been installed, it must not be mounted horizontally or with the outlet side facing up. Otherwise the pump could draw in air. The filter should be tilted about 5° downward so that the pump always draws diesel from the filled part of the filter.
Fuel Pump
Has the fuel pump been bled?
If not, reduced heating output and / or an unreasonably loud operating noise from the fuel pump can occur.
Bleeding should therefore be done now (see also the operating manual, p. 20).
Bleeding the Fuel Pump
Loosen the pump and hold it in an upright position(!) while the auxiliary heater is running at full power. If bubbles can be seen in the fuel line, let the pump keep working in this position until no more bubbles follow.
Then mount the pump again in its old position or correct it. The correct position is horizontal, with the outlet side slightly raised (15 degrees at most).
The correct positioning / mounting of the pump is shown on pages 18 and 19 of the installation instructions.
Check the pump frequency: after at least 20 minutes of running time, an Autoterm Air 2D on the highest setting should make 90 clicks per minute, a 4D about 120.
Triggering the Pump Externally
If bleeding the pump doesn’t help and air bubbles are stuck in the pump’s smaller channels, the pump can be triggered briefly from outside. This method gets the pump to work faster (at 2 – 2.5 Hz, i.e. strokes per second) than when it is driven by the heater. Any remaining bubbles are pushed out with greater pressure.
External triggering can either be done by one of our professional installation partners, who connect the pump to a device designed for this, or, if you are ambitious enough as a layperson, you can improvise the triggering at home as follows.
Before you get started:
Be aware that no liability can be accepted for damage caused by improper work on technical devices.
You should have enough practical experience, imagination and tooling to carry out the following instructions with a certain degree of confidence.
If any points are unclear or you are in doubt about how to carry out the triggering, you’re better off calling one of our installation partners near you and making an appointment to have them briefly connect the pump accordingly.
Here you will find a list of professionals, sorted by postal code, who will be glad to help you:
This is how external triggering works:
- Unplug the pump connector.
- Clamp two wires onto the pins of the pump (polarity doesn’t matter).
- Then hold the wire connected to the pump’s negative against the negative terminal of a battery (12V or 24V, depending on the pump used).
- Now touch the wire connected to the pump’s positive terminal to the battery’s positive terminal in quick succession, each time for a fraction of a second, and take it away again.
Never apply continuous voltage, as the pump could burn out!
Carry out these very short pulses over a total of about 30 to 60 seconds at most.
The pump should now be bled sufficiently to run quietly and to deliver the fuel volume needed for the expected heating output.
To keep the problem from occurring again in future, please follow the recommendations above on mounting the pump and pre-filter, and avoid running the heater when fuel is running low. The pump would otherwise draw in air again.
Was this article helpful to you?
Pass this tip on to friends too and share it with just one click!