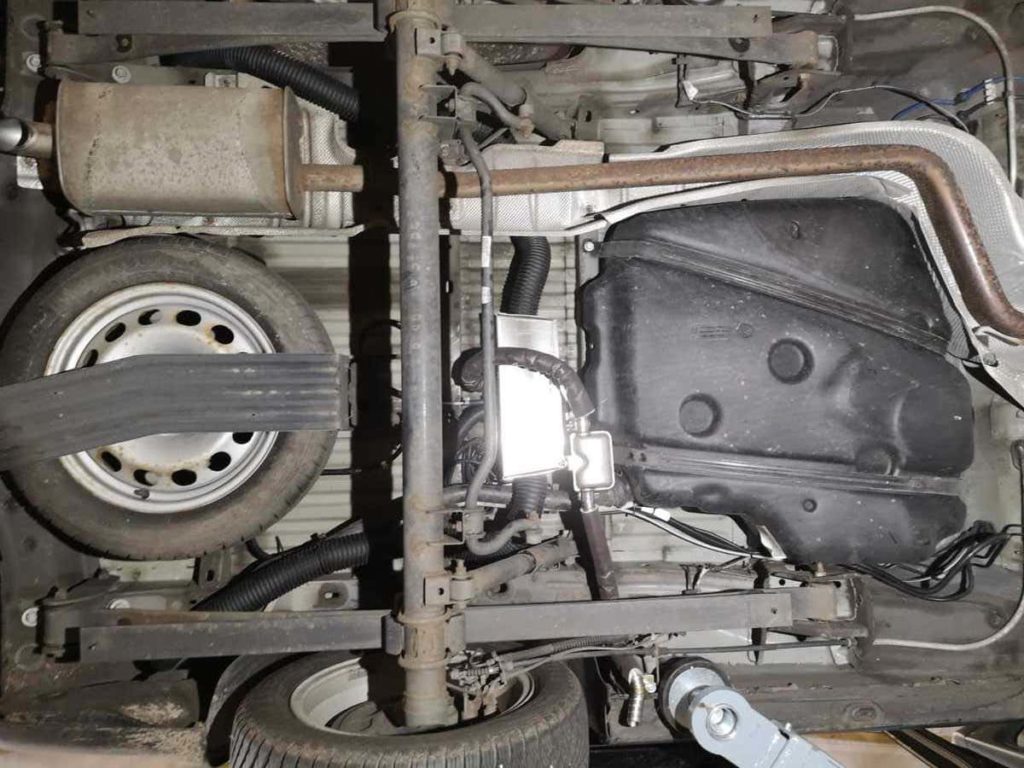

Autoterm auxiliary heaters come from the factory with all the components needed to run safely and efficiently. With our Camper Kits and installation kits, you also get everything you need to install one and keep your travel vehicle warm.
For trips to regions with unpaved roads, however, it’s a good idea to take a few additional measures. This article gives you tips, tricks and recommendations for useful installation and spare parts.
Diesel Filter
A diesel filter is unnecessary if the heater is supplied with fuel from a clean vehicle tank.
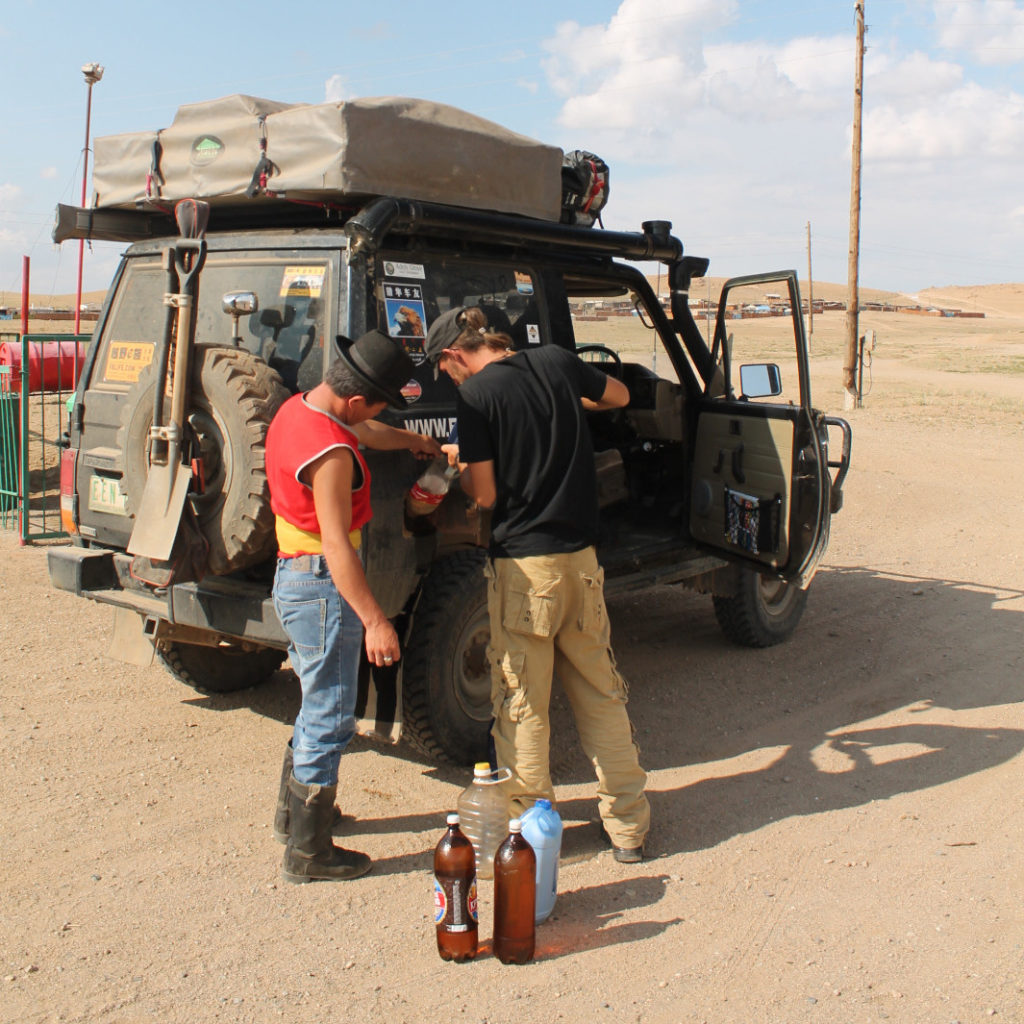
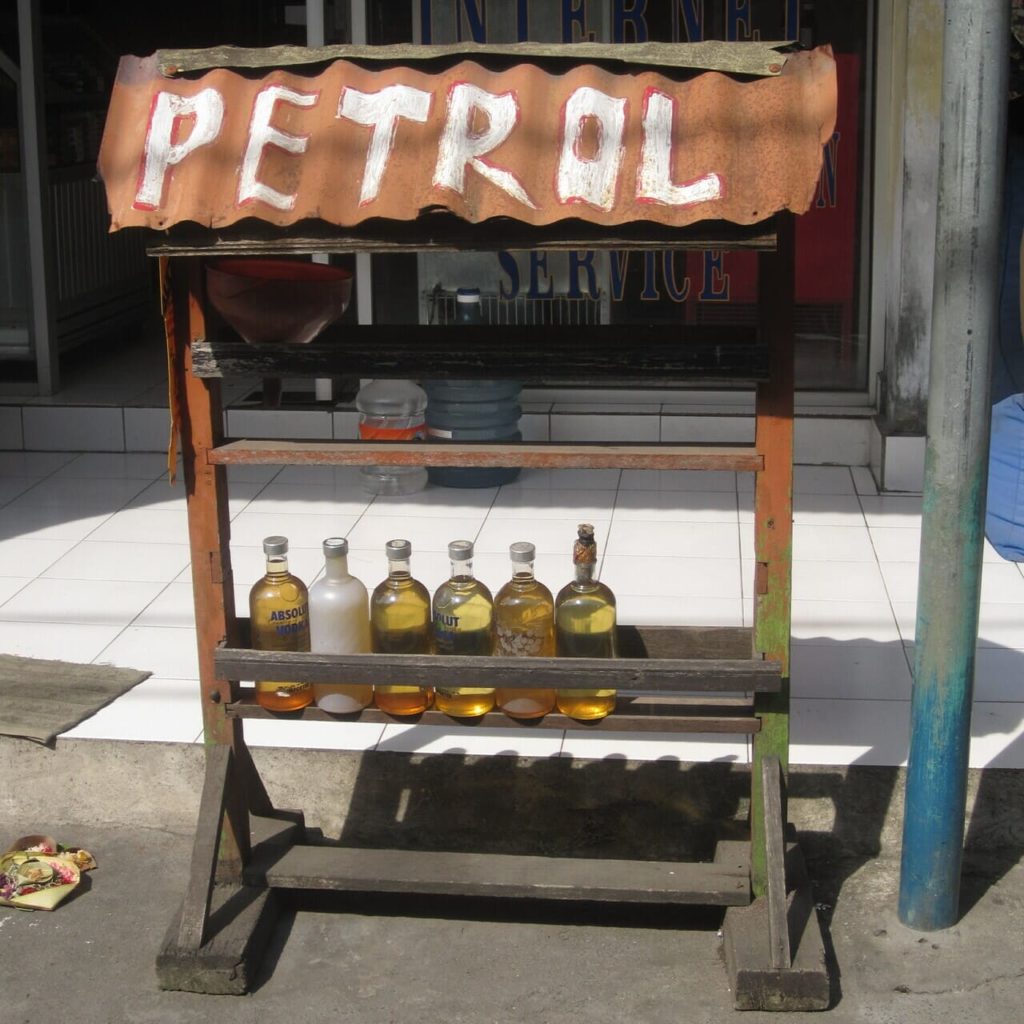
In regions with questionable fuel sources (e.g. cola bottles) or with older jerry cans, however, a diesel filter is essential (and required by Autoterm).
It only does a good job if it is installed correctly. Otherwise it can cause problems such as air bubbles in the fuel supply and, in particular, lead to Error 13.
Installation Notes
- The diesel filter is placed between the tank/jerry can and the pump to protect the pump from contamination in the fuel.
- Pay attention to the flow direction (marked with an arrow, see photo) to make sure the filter works correctly.
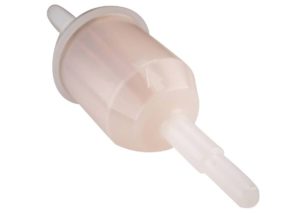
- Position the filter so that the outlet to the pump points slightly downward. This keeps the outlet covered with fuel at all times, so any trapped air doesn’t get into the pump. The filter and the pump form a sort of U shape relative to each other, since the pump’s outlet should point slightly upward.
- For this reason, the filter is best not mounted directly on the pump.
- Check the filter regularly for contamination and replace it when necessary, especially after trips through regions with poor-quality diesel.
Intake Hose with Filter
In dusty environments (e.g. offroad tracks, sandstorms), an intake hose with a filter is essential to protect the auxiliary heater from dirt.
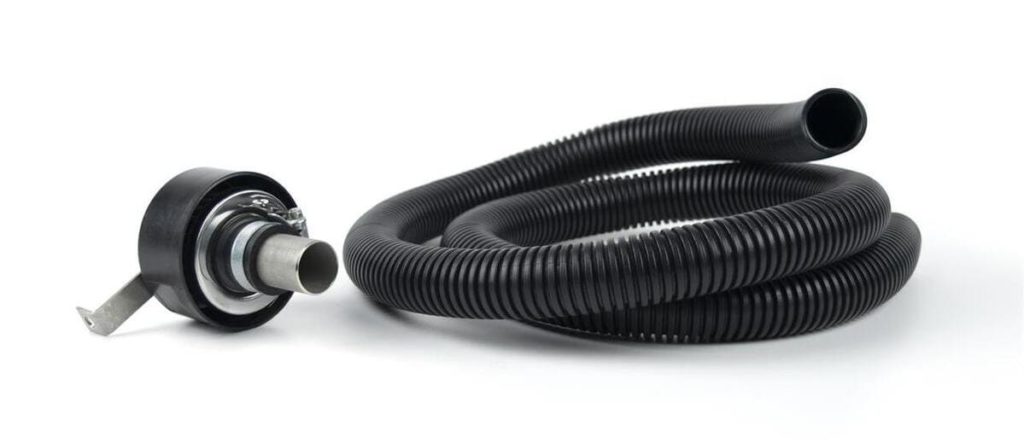
Installation Tips
- Mount the hose in a place that is protected from direct spray water and dust. This can be, for example, a raised position or a sheltered area under the vehicle.
- Clean or dry the filter regularly if it gets dirty or wet. This prevents the auxiliary heater from losing performance over time, or even being damaged.
- The hose length should not exceed 2 meters. Longer hoses can cause excessive back pressure, which can reduce the heater’s efficiency – and a dirty filter can of course make the effect even worse.
Water Crossings
For trips with water crossings, special measures are required to protect the heater and its components from water damage. These include:
- No underfloor mounting!
Water crossings are a no-go with an underfloor-mounted auxiliary heater! Unless you want to rule out water crossings categorically, the heater has to be installed inside. This also applies to the VW T5 and T6, which would actually offer a good underfloor mounting location. Neither the factory VW protection nor stainless steel installation boxes & co. can properly protect an Autoterm air heater from water getting in when fording. The heater itself therefore has to sit inside the vehicle and be well sealed at the flange.
Here are tips on how to find a suitable interior spot for the heater even in small travel vehicles, along with a few considerations explaining why we generally advise against underfloor mounting anyway: Underfloor Mounting of an Autoterm Auxiliary Heater – Why We Often Advise Against It. - Sealing the air inlet and exhaust:
Once the heater is installed inside, only the combustion air inlet and exhaust are still an issue when fording. You have to make sure that no water can get into the pipes. There are no manufacturer parts for this, only tips and tricks for improvising. Some swear by rubber stoppers for wine bottles, demijohns from the winery, or even corks. Rubber gloves or condoms, fixed to the corrugated air pipe with a rubber band, are also reported to have worked from time to time.
However, all these measures only protect the heater for a short time against water getting in. If you stop in a ford (or get stuck unintentionally), water will sooner or later get into the heater. The wound stainless steel exhaust pipe in particular is neither gas-tight nor permanently watertight. - Mind the warranty
Finally, it has to be said at this point: if the unit is destroyed by water getting in, the warranty is void. Every offroader bears this risk themselves!

Protecting Lines and Cables
Lines and cables must be protected against mechanical damage from branches, stones or other influences, such as constant chafing or getting pinched in springs.
Recommendations:
- If possible, route the lines inside the vehicle frame or in protected cavities.
- Use protective sheathing or cable conduit to extend the service life of the lines.
- Check the condition of the lines regularly, especially after offroad trips. That’s a good moment for a general inspection for damage on and above all under the vehicle anyway.
Spare Parts
One of the big advantages of Autoterm heaters over most competitors on the market: their repair-friendly design allows even laypeople to get the unit working again in an emergency, so you don’t have to spend nights in freezing cold.
The Autoterm network is surprisingly well set up for repairs, too – still, on long-distance trips you should be prepared for failures (not only of the heater!) to happen at the worst possible place. So it’s best to pack the most important spare parts.
These include, for example:
- Gasket set: Contains all the gaskets needed for a repair.
- Glow screen: A wear part that ensures clean fuel atomization.
- Spare glow plug: Indispensable under heavy use or with poor fuel quality.
- Spare pump: Especially recommended for long trips.
- Additional control panel: Useful if the main control panel fails.
You can find more on spare parts and repairs in our article:
Spare Parts for Autoterm Auxiliary Heaters: What You Should Carry on Your Travels
It must of course be mentioned that the warranty lapses if non-certified technicians open the heater and carry out repairs on it themselves – but that’s probably not the top priority when you’re standing in the Altai Mountains with a broken heater. What is important is that the installation is still correct and safe, which means you should have informed yourself well beforehand about proper handling.
For these reasons, we sell a number of Autoterm spare parts to end customers only after consultation. If you are planning a long-distance trip and want to carry the most important spare parts, please get in touch with our technical support in good time before your trip. We will then gladly provide you with the relevant repair documents and spare parts overviews, and we are available to answer questions during the repair!
Conclusion – The Right Preparation for a Reliable Auxiliary Heater in Offroad Use
For your Autoterm auxiliary heater to work reliably away from paved roads, a few preparatory measures should be taken. Protection against moisture and dust is just as much a part of this as installing a filter in the fuel supply.
Under such operating conditions, mechanical damage also needs more attention than on asphalt, where e.g. brush rarely drags along the underbody.
At the same time, the heating system should be inspected regularly to spot damage after offroad passages early.
Especially on long trips, or if your route includes very high, cold and inhospitable destinations, you should be prepared to help yourself on the road if necessary. Equipped with the most important spare parts and repair instructions, which we also provide on request, you can start any adventure with peace of mind.
Did these tips for making your auxiliary heater offroad-ready help you? Then feel free to pass them on to other overlanders who may be grateful for them, too.
You might also be interested in these topics: