
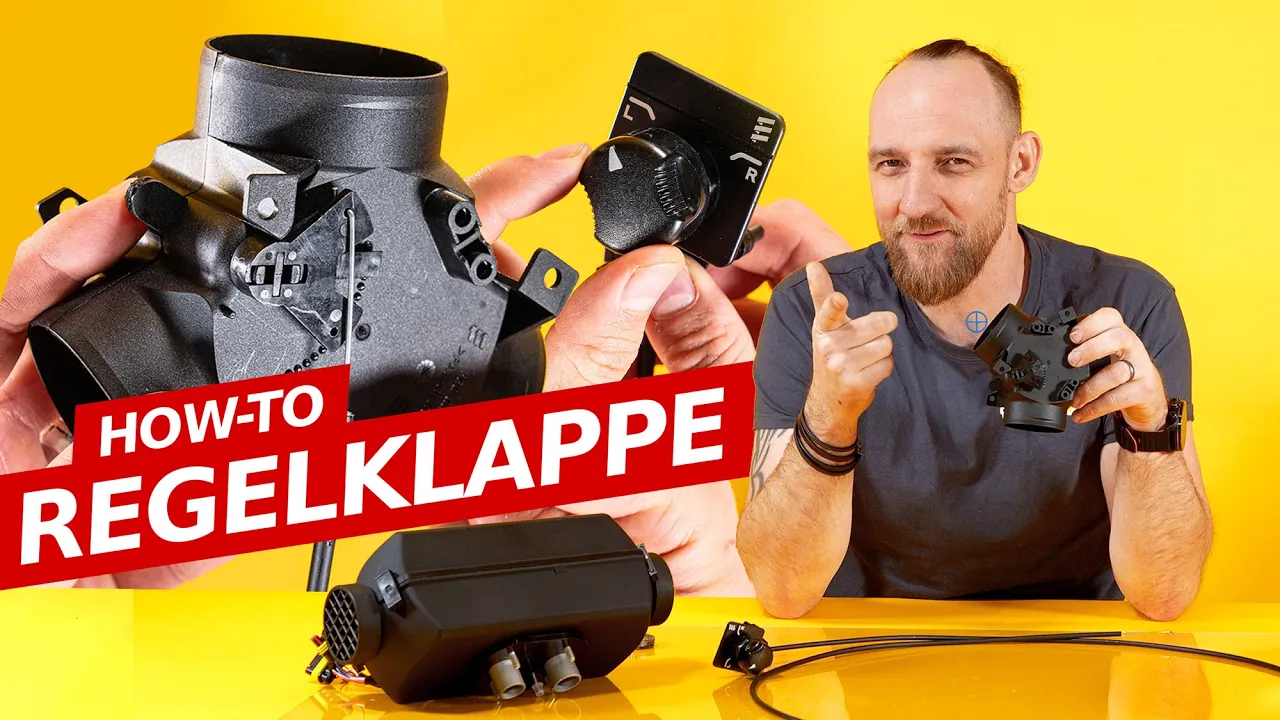
When it comes to optimally controlling the warm air distribution in your camper, the control flap is an enormously helpful component. It lets you direct the airflow in a targeted way – meaning you can heat individual areas only when you really need it.
Our technik-tiger Nico explains step by step how to install a control flap correctly and what you should definitely pay attention to.
Installing a Control Flap – Video
What Do You Need a Control Flap For?
A control flap comes into play when you want to distribute the warm air of your auxiliary heater according to need.
Imagine you have a bathroom in your vehicle – this room is usually so small that sauna-like conditions quickly develop in it. So you only want to heat it when you actually use the bathroom, and would rather have the warm air in the living area otherwise.
The control flap makes exactly that possible. You can direct the airflow (for example) either into the bathroom or into the living area – as needed, simply.
Components at a Glance
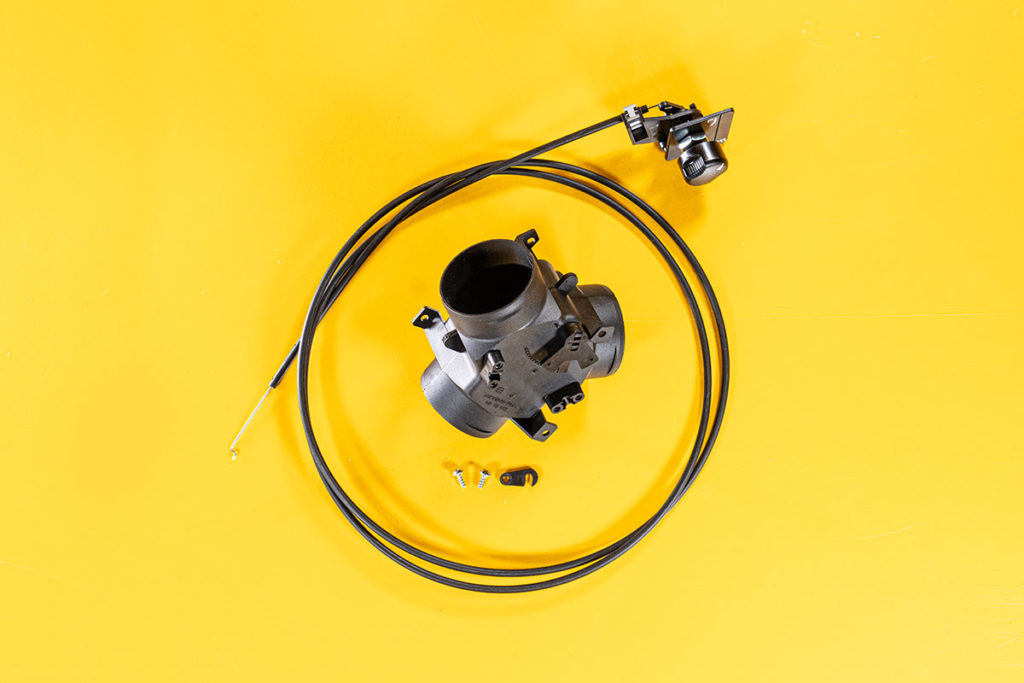
Before you start the installation, you should lay out all the necessary parts.
When unpacking, make sure you do not accidentally throw away any of the small parts with the packaging – that actually happens quite often, because they are easily overlooked. The small bracket in particular is essential for installation.
In the package you will find:
- The control flap itself
- Two screws
- A bracket for the Bowden cable
- The Bowden cable with the control knob at one end and a small hook at the other.
Step-by-Step Installation Guide
Installing the control flap is very doable with some care. Follow these instructions and definitely the tips below as well to mount the flap correctly and ensure smooth operation.
Also have a look at our video further up, which shows best what it should look like.
Attaching the Bowden Cable
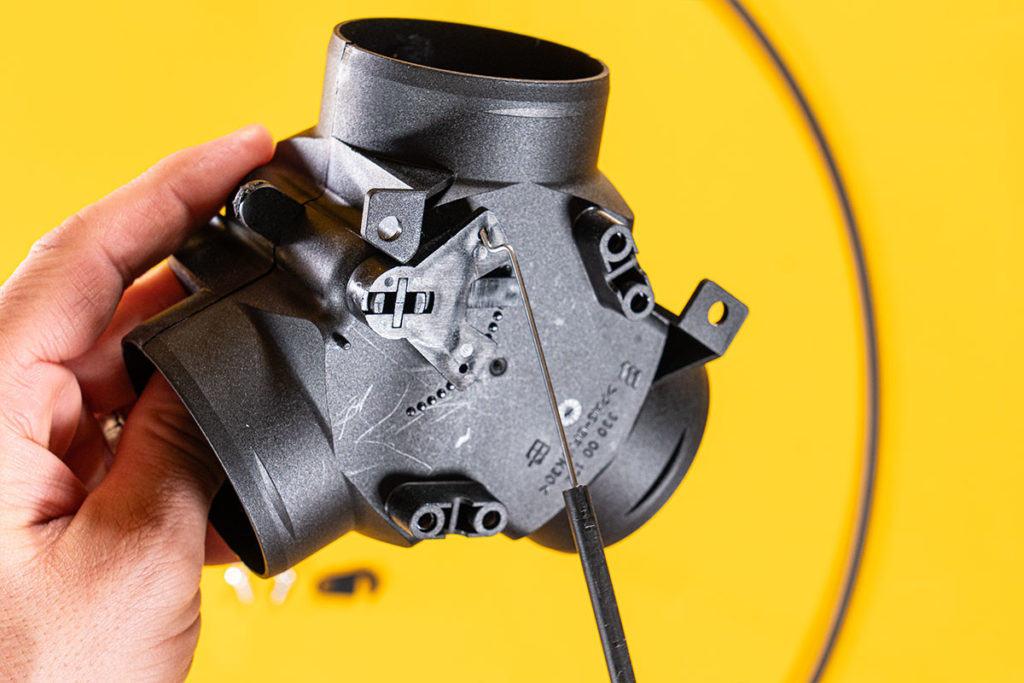
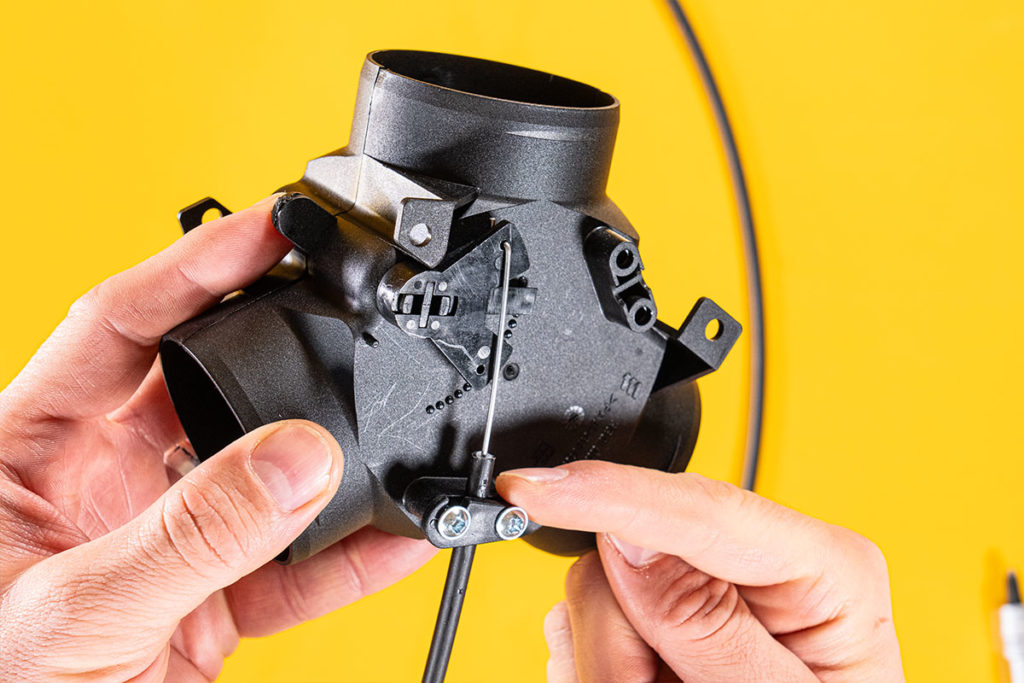
First decide from which side you want to attach the Bowden cable to the control flap.
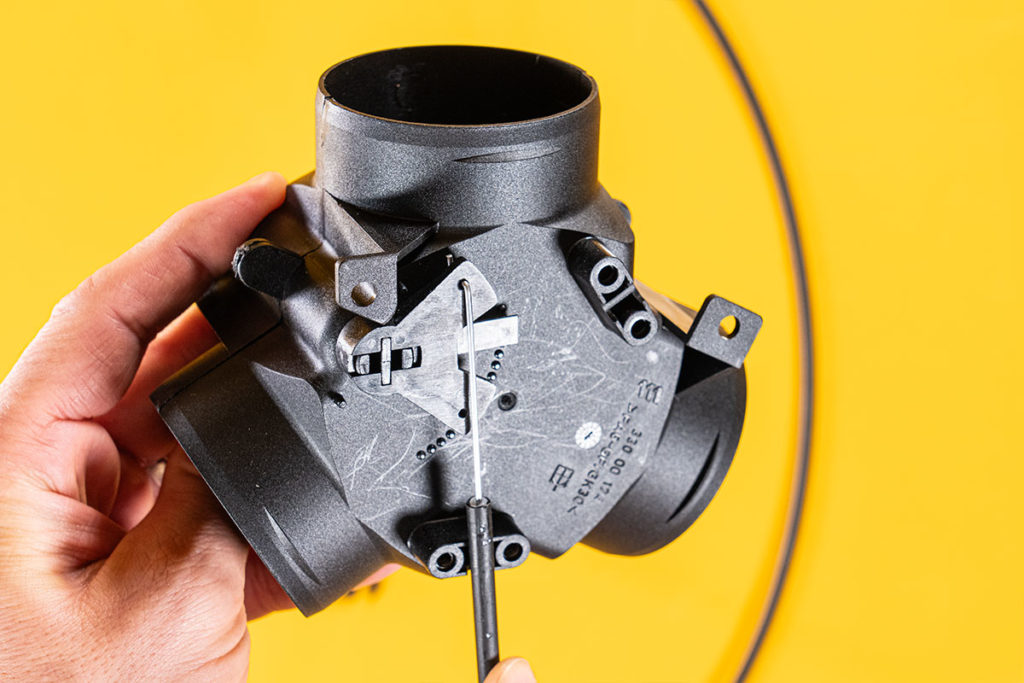
The small hook at the end of the Bowden cable is hooked into the triangle provided on the flap. Make sure the sheath of the Bowden cable stays on the bracket – that is where it will be clamped later.
Fixing the Bracket
Use the supplied screws and the small bracket to securely fasten the sheath of the Bowden cable. This makes sure the control flap works optimally and can be operated smoothly.
Mounting the Control Knob
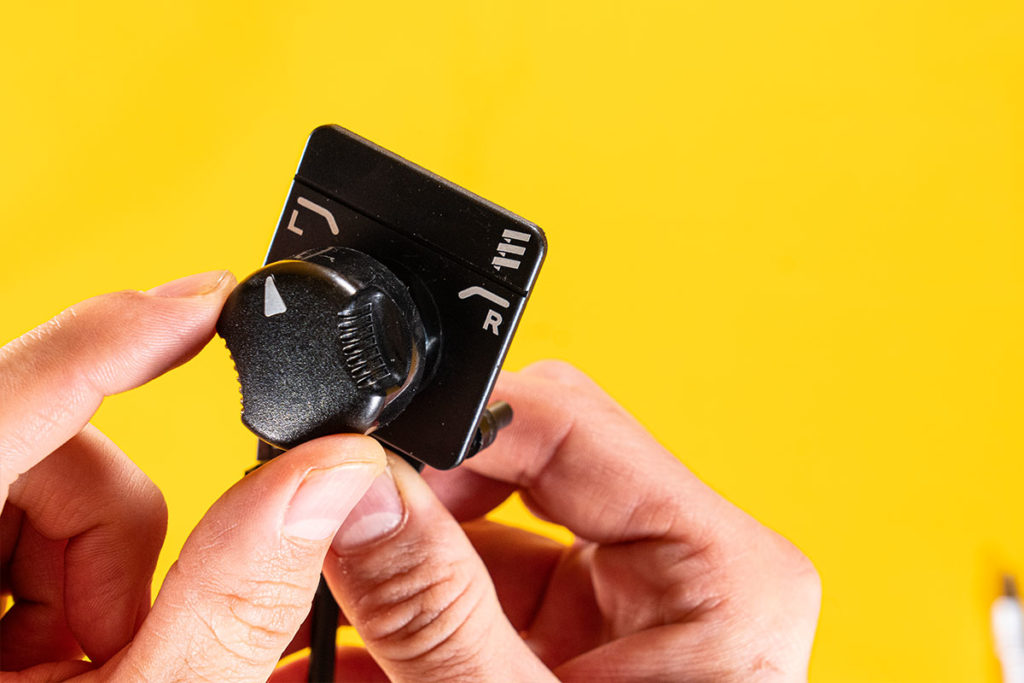
The control knob is used to operate the flap and is permanently installed in the vehicle.
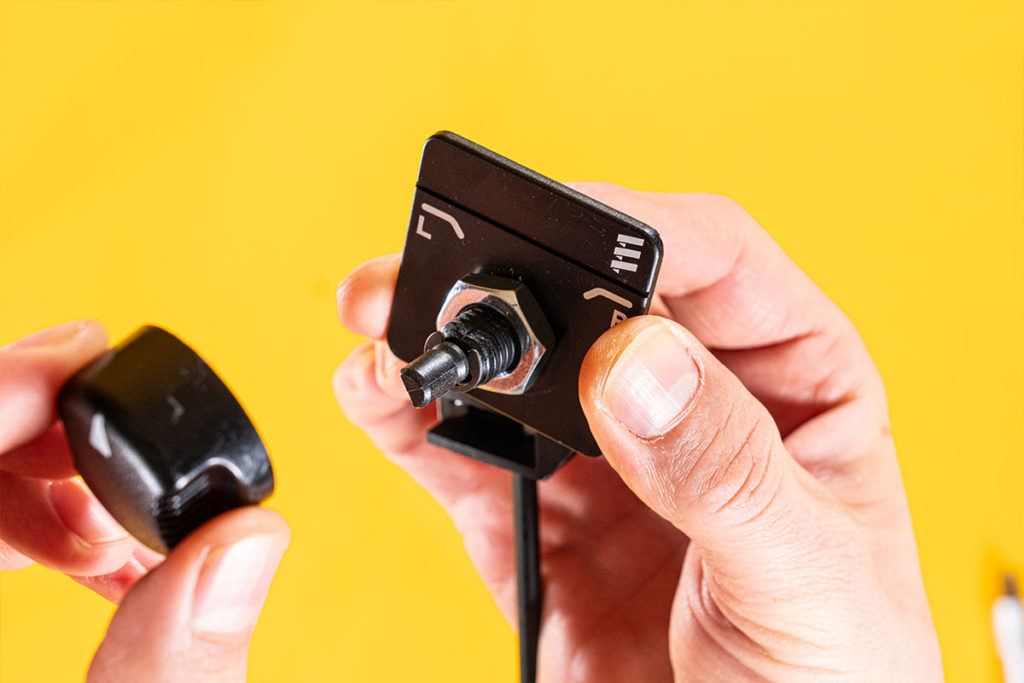
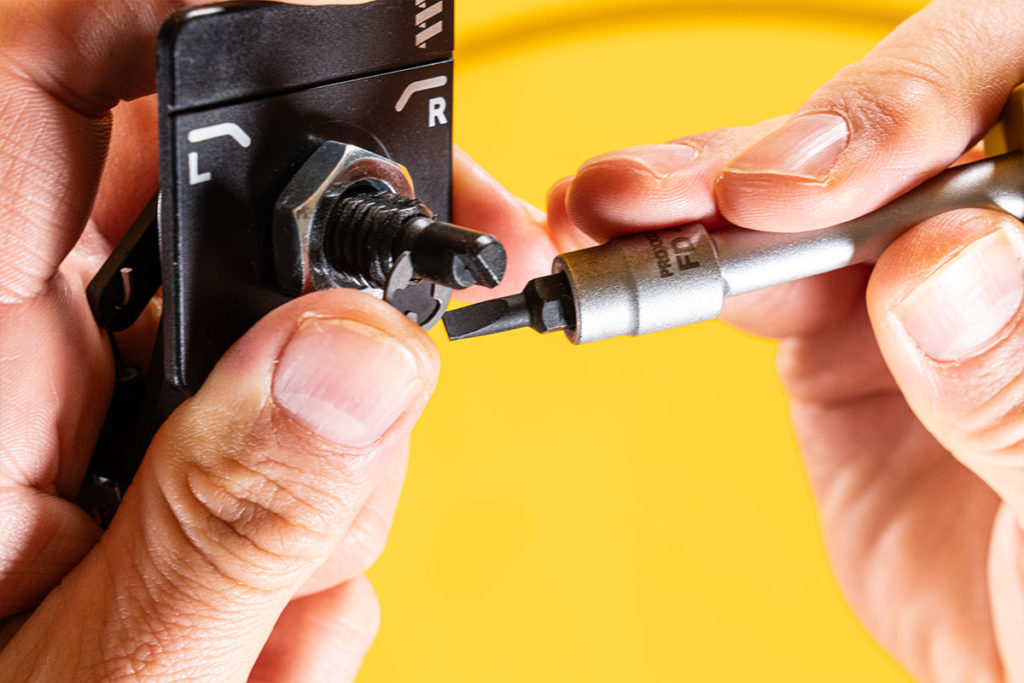
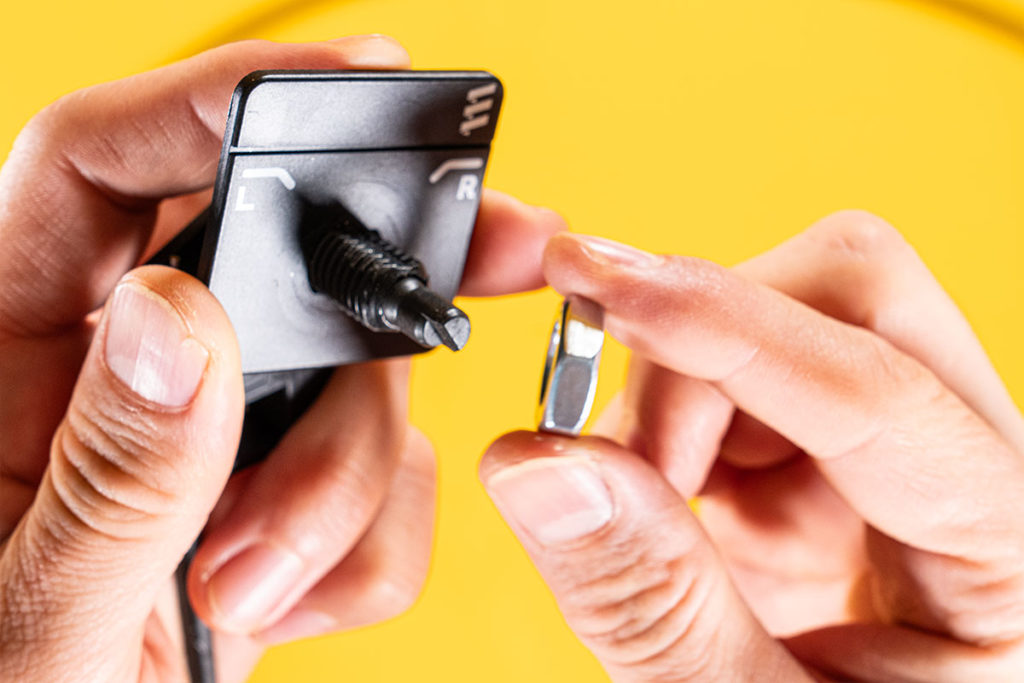
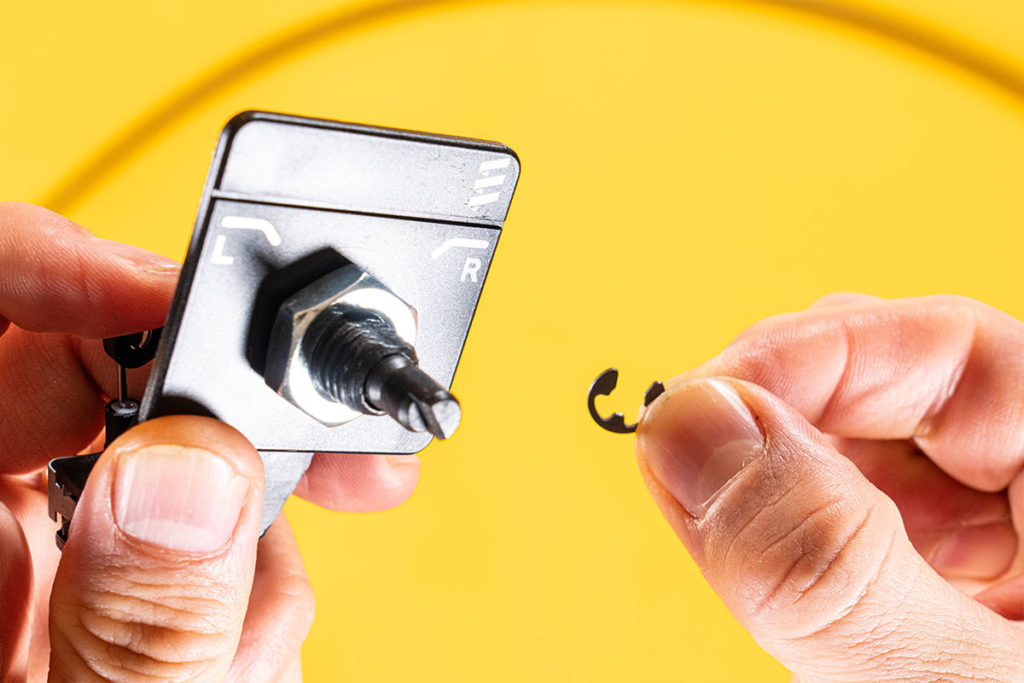
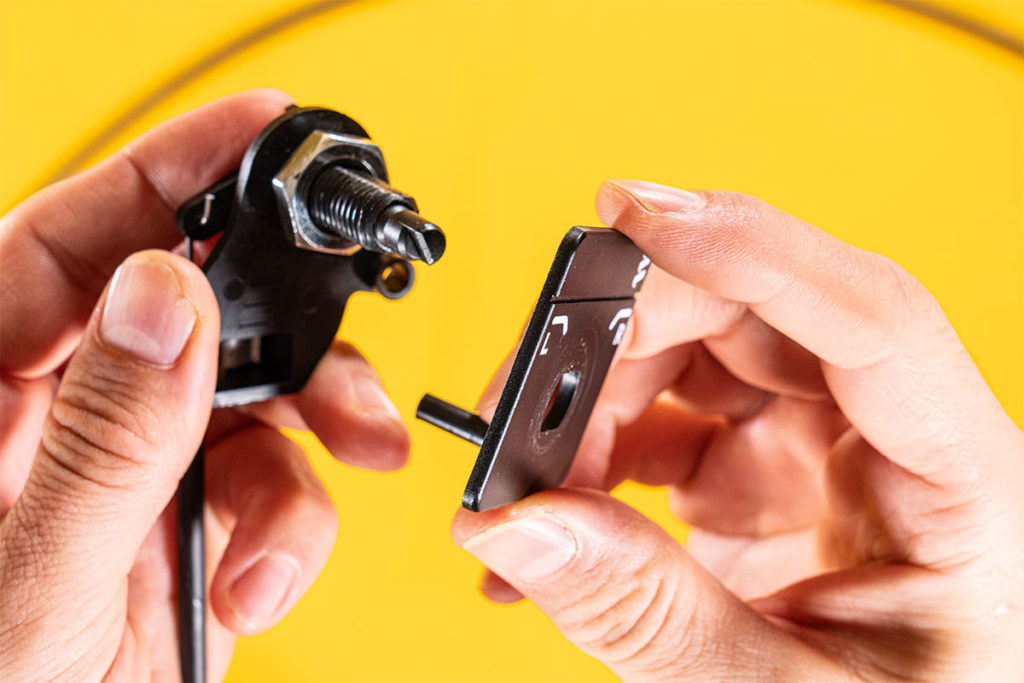
To do this, pull off the knob, remove the small circlip and unscrew the nut.
Drill a suitable hole at the desired spot, push the mount through it and fasten everything again in reverse order.
Finally, put the knob back on.
Important Tips for Long-Lasting Function
Gentle Routing of the Bowden Cable
A tight bend or a sharp kink can make the knob hard to turn or even over-rotate.
Always route the Bowden cable in a gentle curve and make sure the control knob moves easily.
Shortening It Correctly
If you need to adjust the Bowden cable, carefully cut back the sheath and then shorten the cable.
Then bend the small hook from the original end of the cable back onto the new end with pliers. Without the small hook you cannot attach the Bowden cable to the control flap.
The control flap is available for 60mm and 90mm warm air systems. View it in the shop now:
Installing a Control Flap – Conclusion
With a correctly installed control flap you can direct the warm air in your camper according to need and ensure more comfort.
If you pay attention to gentle routing of the Bowden cable and correct fixing, you will enjoy this solution for a long time.
You will find more tips and guides that can help you with your auxiliary heater in our Heating section, e.g. with the following articles:

Did this info on installing a control flap in a camper or motorhome help? Then feel free to share it with friends and like-minded people who are also bitten by the camper bug!