
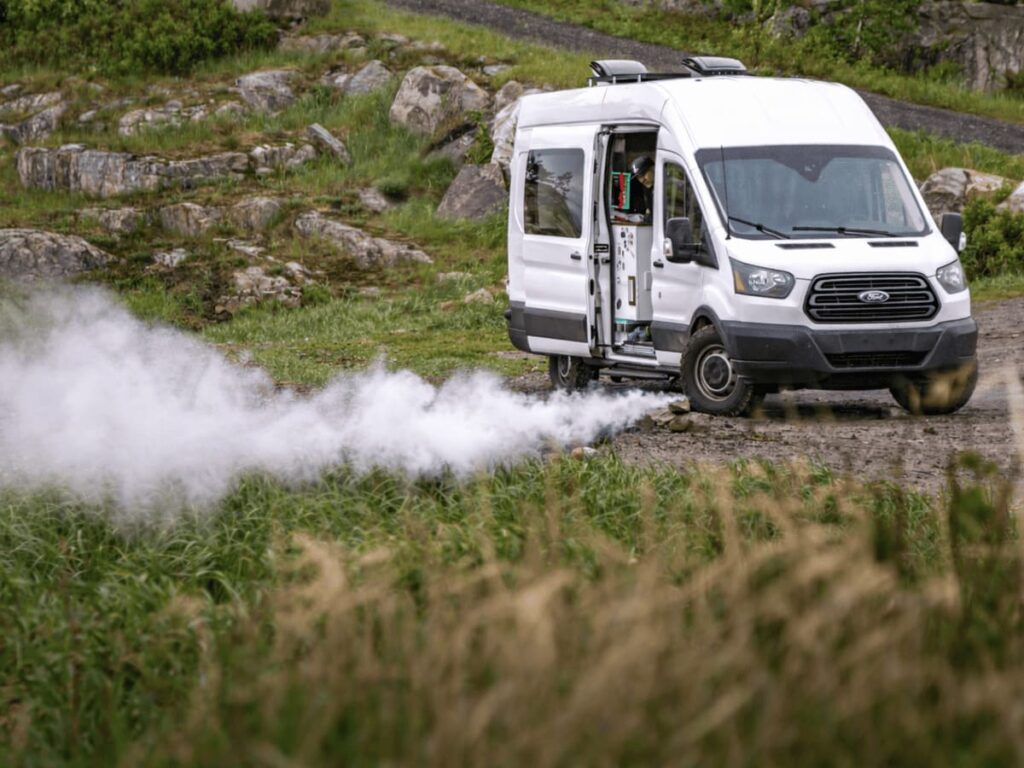
If a diesel auxiliary heater starts badly, smokes heavily and soot or even diesel comes out of the exhaust, that points to a well-known problem:
a sooted-up combustion chamber.
It usually happens gradually, so you only notice the problem when the heater one day refuses to run at all.
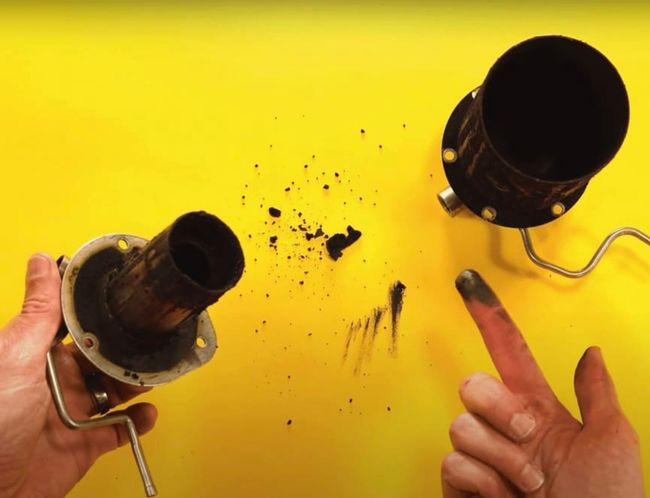
You get a first hint whether it really is a sooted-up combustion chamber by looking into the exhaust line: are there clear traces of soot in the disassembled exhaust pipe? What does it look like when you shine a light deeper into the heater, toward the combustion chamber? If it is black with soot all the way through instead of bare and shiny metal, you have found the cause.
Note: Also read our article Diesel auxiliary heater in autumn: the most important questions for a quick assessment of smoking and sooting and possible alternative causes.
If the suspicion of sooting is confirmed and it has got to the point where the heater no longer starts and runs properly because of it, a cleaning is unavoidable.
How Soot Deposits Form
Soot in the combustion chamber does not appear randomly or inevitably over time. Almost always, the cause is the way the auxiliary heater is operated. It mostly happens when the heater runs only at part load for a long time because of mild temperatures. Frequent switching on and off (whether manually or in temperature/thermostat mode), without ever reaching operating temperature for a certain period in between, also means the heater cannot burn the soot deposits free.
To prevent this, the auxiliary heater should therefore be run at higher load for a certain time on a regular basis. Diesel and deposits then burn more cleanly, and existing soot can even partly break down by itself.
To avoid sooting:
Let the heater run at the highest power level for 30 – 40 minutes at least every 14 days.

What Soot in the Combustion Chamber Does
The soot forms an insulating layer on the surface of the combustion chamber. The heat of the flame can then no longer transfer properly to the adjacent heat exchanger – it does not get properly hot and the heat cannot pass to the room air. That is why the symptoms usually also include heating output slowly but surely dropping before the heater stops running properly.
Once the problem has started and nothing is done about it, it gets worse by itself. The soot leaves less and less glowing metal where ignition can take place – that is the reason the heater finally no longer starts at all. The cold soot surface where the fuel lands during injection simply does not generate enough heat for it to ignite.
The Good News: The Problem Is Solvable
Even though a sooted-up combustion chamber sounds like a serious defect at first, there is good news: in the vast majority of cases you can repair the heater yourself. It is not “broken”, it just needs a little love.
It is important to classify it correctly, though: sooting of the combustion chamber is not a warranty case, because it results from incorrect use. In exceptional cases, contaminated fuel on trips can also be partly to blame, but of course that is likewise not a material or production defect and therefore not a warranty case. The manufacturer Autoterm explicitly points out in the device manual that the heater should be run at full load regularly. As usual, repairs or interventions carried out by yourself during the warranty period void the manufacturer warranty.
That the heater can be repaired yourself is, however, an outstanding plus. We keep all Autoterm spare parts ready for you and the manufacturer makes a repair manual publicly available – perfect for your wallet, for the sustainable use of products and for helping yourself on the road.
Even though an auxiliary heater is generally not prone to damage: especially if you are planning longer trips to remote regions, we have more information here on which spare parts you should perhaps carry with you. Read all the information on spare parts here.
Cleaning a Sooted-Up Combustion Chamber – Typical Pitfalls
We would now like to give you some important tips for repairing the heater in case of a sooted-up combustion chamber, so that it goes as smoothly as possible. You will find all the details in the official documentation:
Preparation
Before the heater is taken apart, a good part of the loose soot deposits can often be removed already. To do this, simply shake the removed heater vigorously and tip out the loose chunks of soot. This simple step often reduces the dirt considerably and makes the rest of the work easier.
Disassembly and Reassembly: Gaskets
When opening and later reassembling the Autoterm heater, the gaskets play a key role. Gaskets are used both between the fan and the housing and between the combustion chamber and the heat exchanger, and they are easily damaged during disassembly. So you should have a suitable gasket set before you start the repair.
Be especially careful with the Autoterm 4D: here there are even two gaskets in the area of the combustion chamber.
Removing and above all correctly reinserting the combustion chamber is a bit fiddly and the gasket can easily be damaged in the process.
Our tip:
Try inserting the combustion chamber beforehand, before you fit the new gasket.
Cleaning the Combustion Chamber and Heat Exchanger
Once the coarse dirt has been shaken out, you can turn to the combustion chamber and heat exchanger. They can be covered with a more or less heavy film of soot, but the deposits can usually be removed well – even if it makes quite a mess. A brush is recommended for cleaning.
The heat exchanger in particular can be cleaned well in most cases. In hard-to-reach places or with heavier deposits, a brush with stiff bristles can also help.
When cleaning, take care to treat both the combustion chamber and the heat exchanger carefully so that the surfaces are not damaged.
After mechanical cleaning, the parts can be rinsed in a parts washer (if available) or freed of remaining residues with a suitable cleaner, such as brake cleaner.
Pay special attention to the area around the glow tower, i.e. where the glow plug sits. Deposits collect here in particular and can significantly affect the starting behavior of the heater.
Before reassembly: let everything dry thoroughly.
Glow Screen and Glow Tower
In the area of the glow tower and glow plug you will also find the glow screen. It can be affected by the sooting as well. If it is clogged or heavily encrusted with burnt-on diesel, the heater can no longer ignite cleanly.
Use pointed pliers to remove it. It is normal that it cannot be pulled off that easily and it is often damaged in the process. That is not critical, though – it should be replaced anyway.
Clean the area, e.g. with a toothbrush. Pay attention to the small hole on the side, which must not be clogged.
Inside the glow screen there are two small holes. When installing, they must be offset by 45° from the fuel supply .
Protective Plate
Another detail concerns the metal protective plate in front of the fan. On the Autoterm 2D there are sometimes very tightly tightened Phillips screws whose heads are quickly damaged if you are not careful with them. As a result, you can hardly get the screws out any more.
On the 4D, when reassembling, make sure the plate is not inserted in the wrong position: the cutout must sit over the glow tower – this mistake is easily made and goes unnoticed at first, but later leads to assembly problems.
Heater Smokes and No Longer Starts – Conclusion
The problem is usually caused by a sooted-up combustion chamber and occurs when the heater is not burned free over longer operating periods.
Typical problems are then
- declining heating output
- poor starting,
- heavy smoking
- soot or even diesel coming out of the exhaust
The good news, however, is that you can carry out a repair fairly easily yourself – you can of course get all the spare parts you need for it from us. Please contact our support at info@tigerexped.de, since not all spare parts are visible directly in the shop.
To avoid the problem in future, you should let your heater run at the highest level for at least 30 minutes at least every 14 days, so that soot deposits can be burned off.
Extra tip to finish: even in summer, when you do not need the auxiliary heater at all, it should be switched on every few weeks and run at full load for 30 minutes. If it stands idle for too long, fine structures such as the mechanics of the fuel pump can stick together from standing diesel. In that case only a replacement will help.


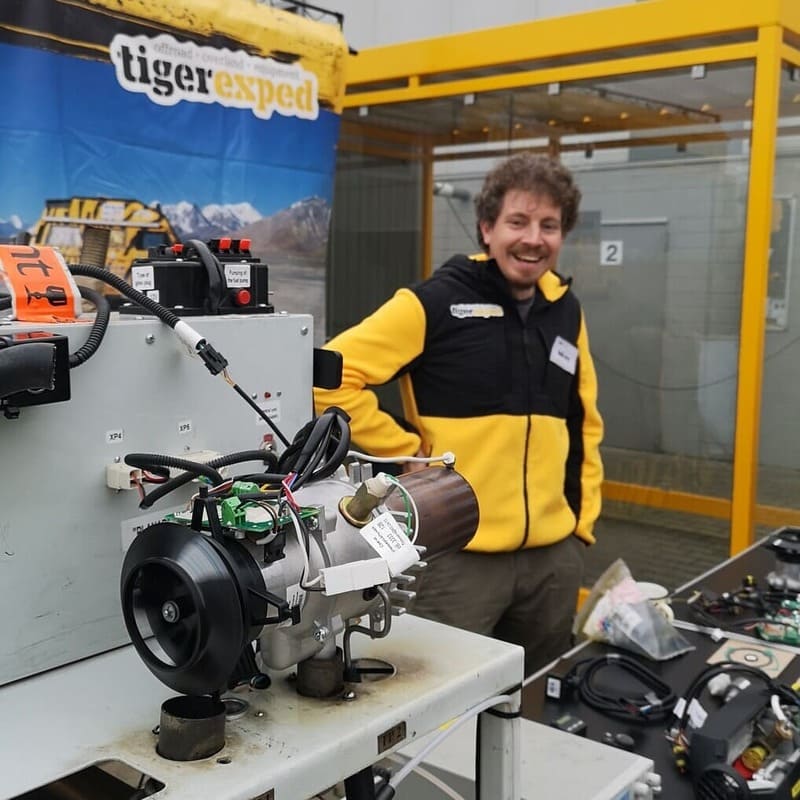
tigerexped technician Lukas
Knows the inner workings of auxiliary heaters and other components like no one else. He is our expert for fault diagnosis and repairs and a real cheerful soul.
Did this info on cleaning a sooted-up auxiliary heater help you? Share it with friends and like-minded people who can benefit from it too: