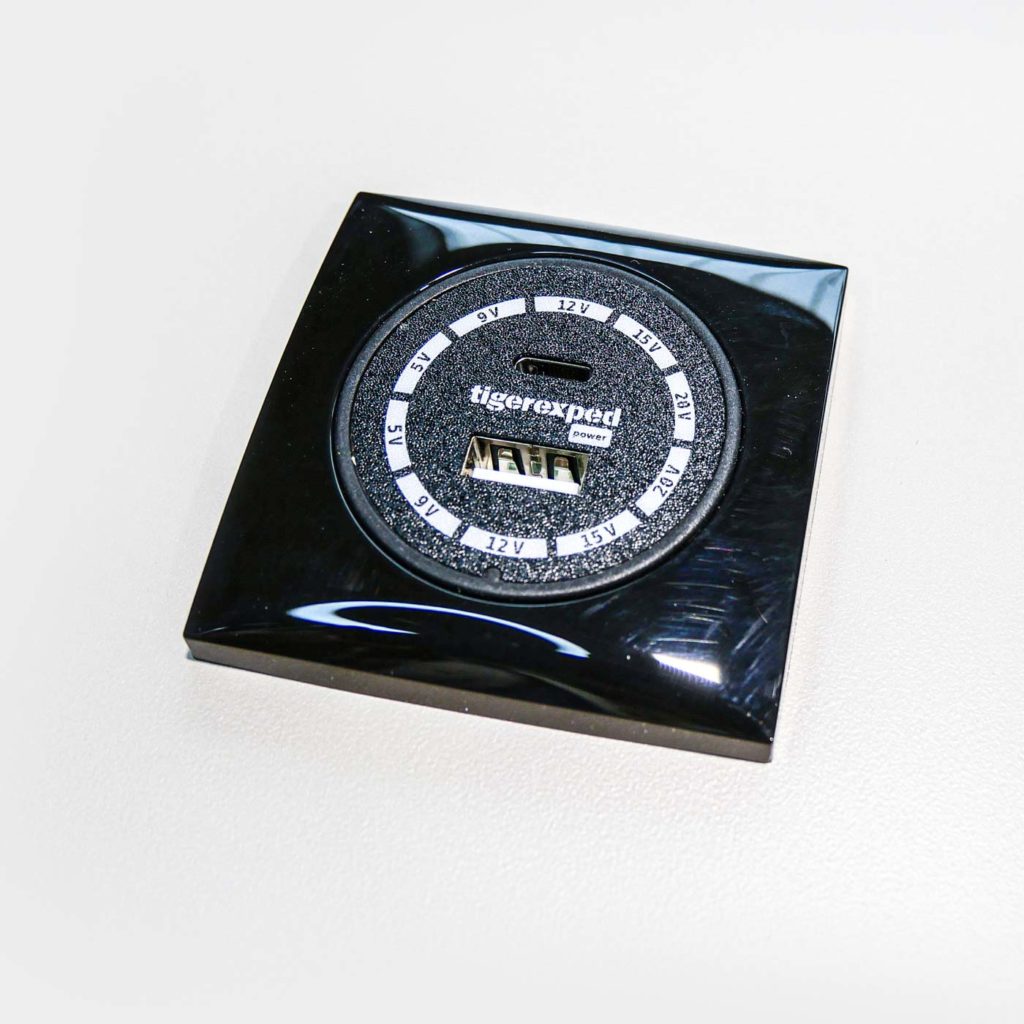
Here we show you step by step how to remove your existing convertiger 100 charging socket and connect the new version correctly.
The swap is straightforward and requires only a small adjustment.
What Has Changed?
The most important change concerns the connections:
- Old: plug-in contacts for connecting with cable lugs
- New: lever clamp connections for tool-free installation
This means:
The previous cable lugs are no longer needed and have to be removed.
Tools and Preparation
For the conversion you need:
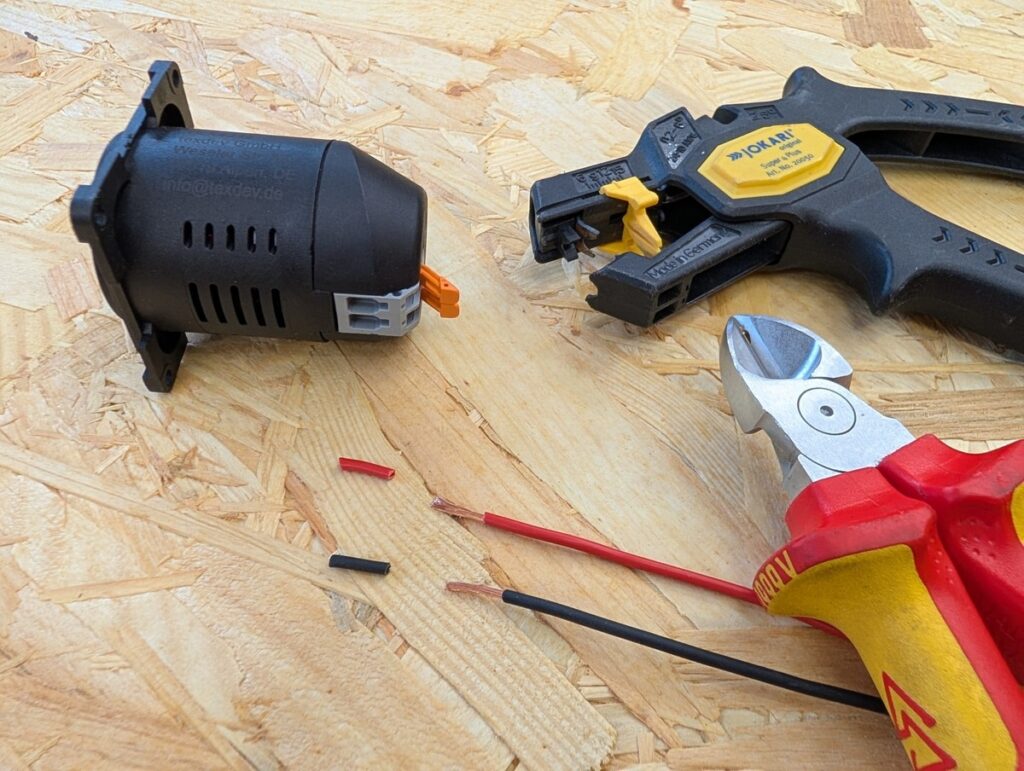
- Side cutters or cable shears
- ideally a wire stripper – but a knife and careful handling will do as well
- a small screwdriver for removal
Important:
Before you start, be sure to disconnect the power supply of your system.
Step 1: Remove the Old convertiger
Removal consists of two simple steps.
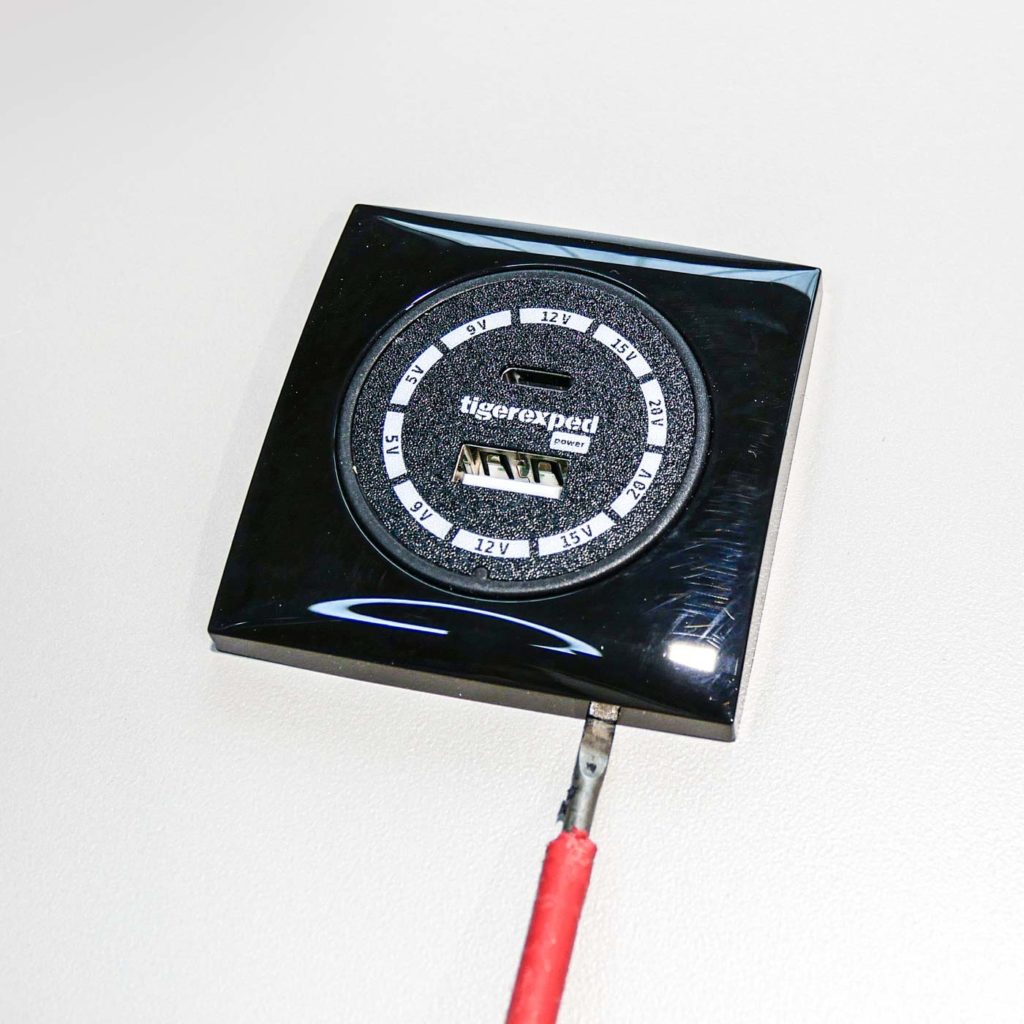
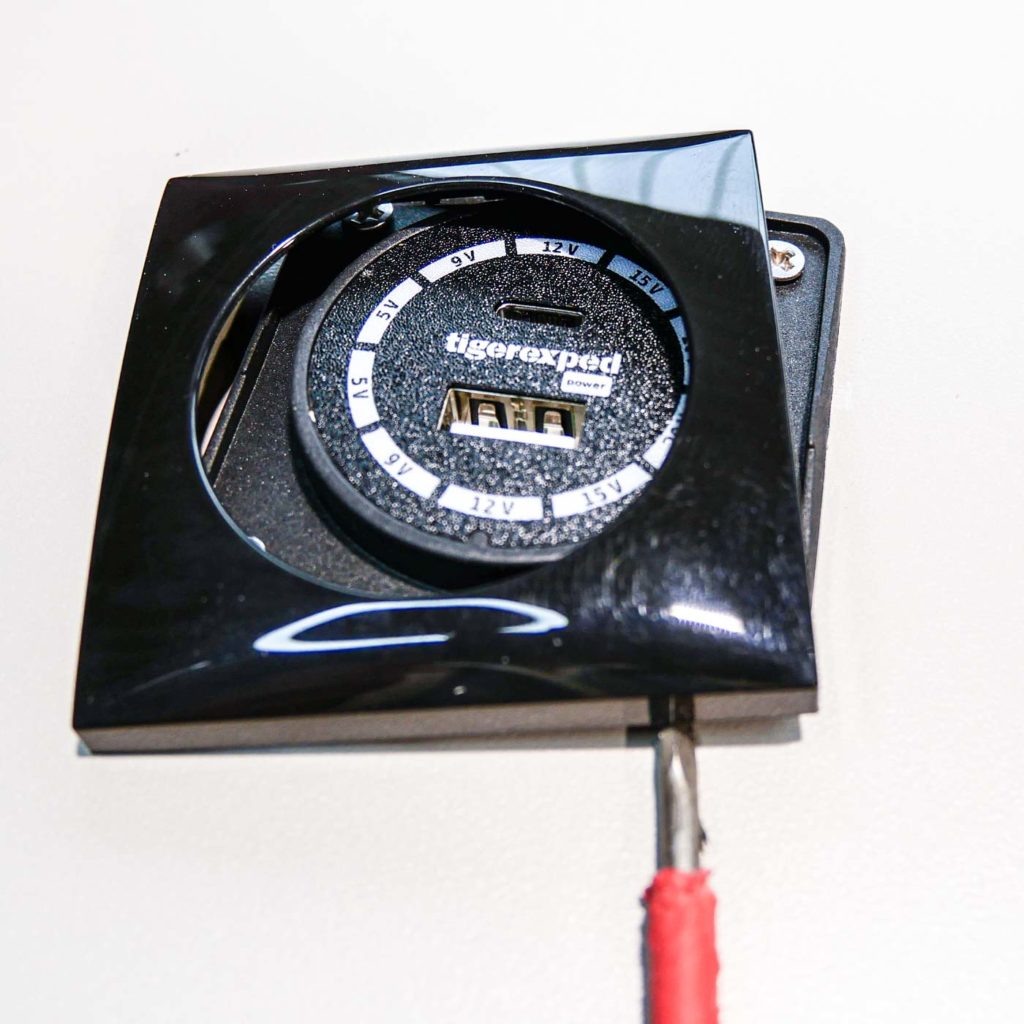
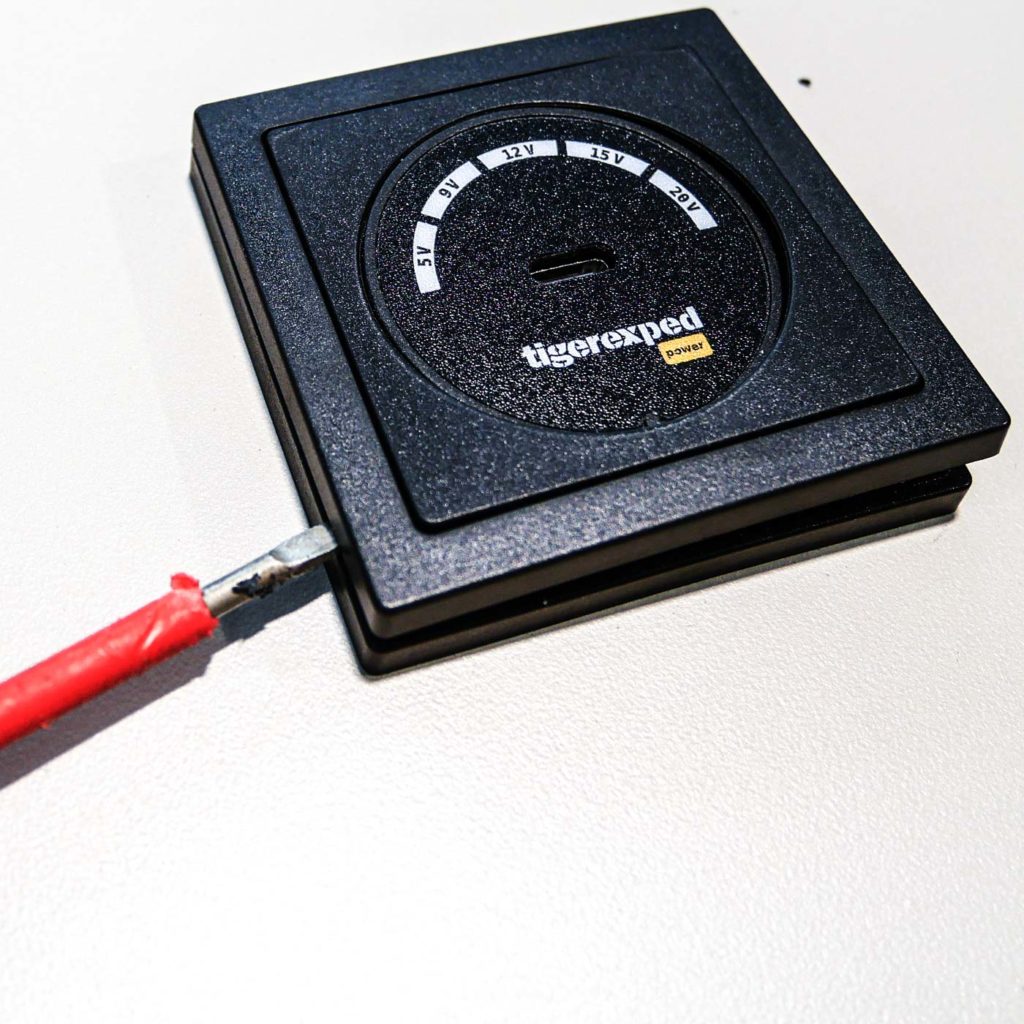
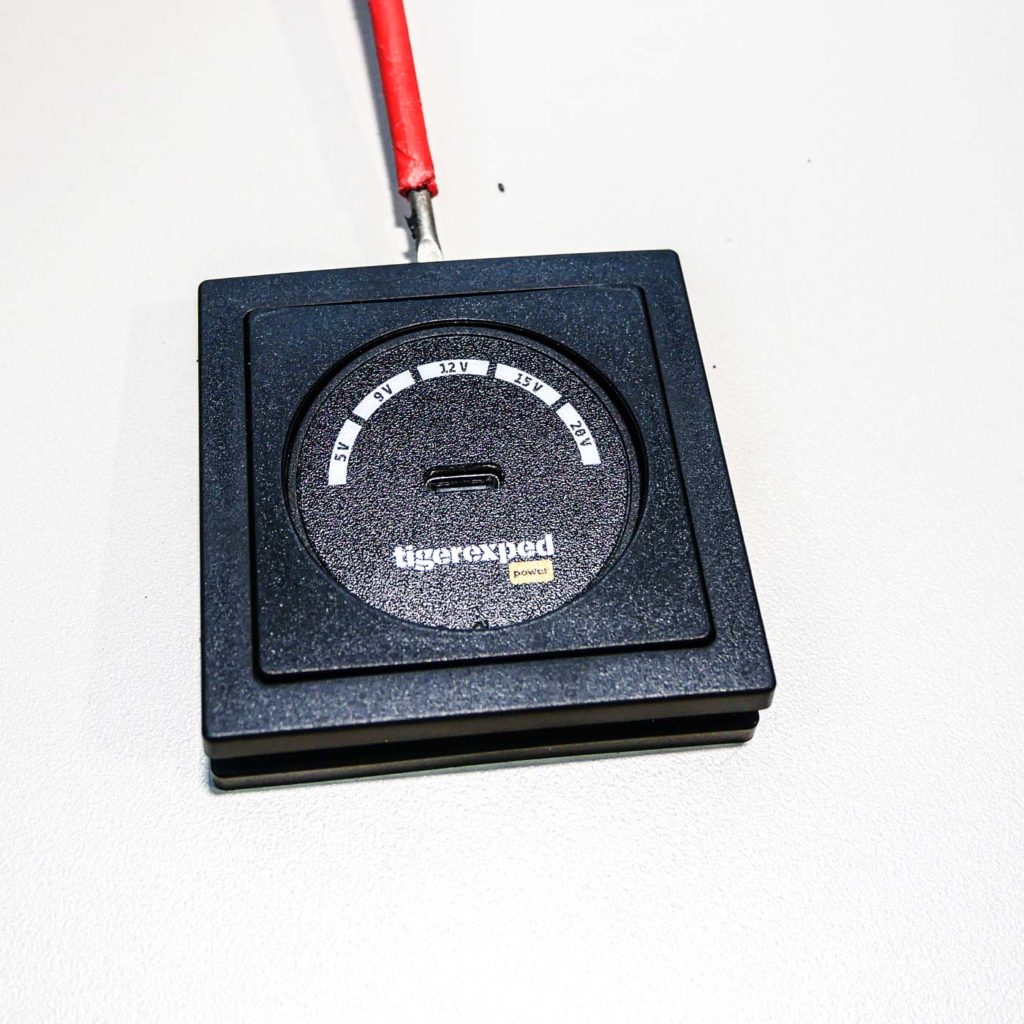
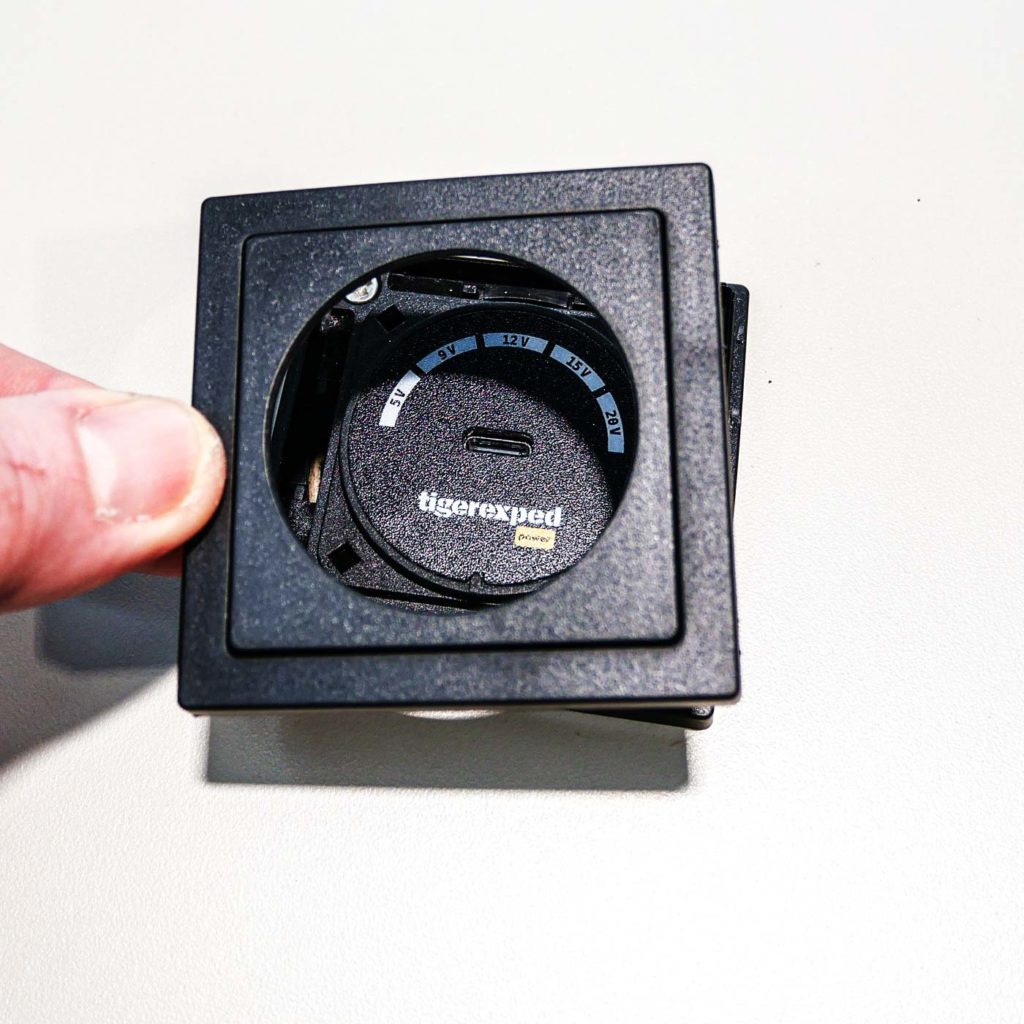
1. Remove the Cover
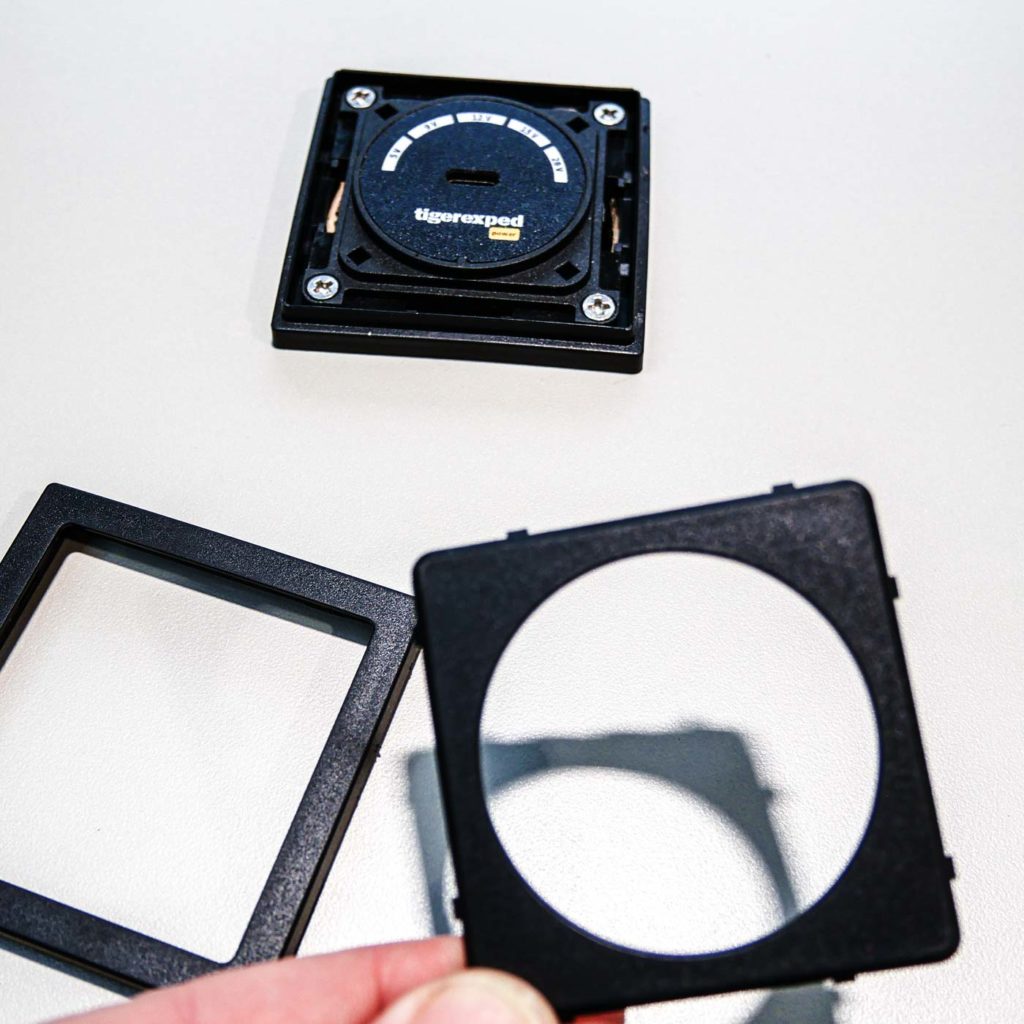
First, remove the cover of your existing convertiger.
You can release the cover with a flat tool or by careful prying. Work with a gentle touch – especially with the Inprojal version, latching tabs can break off if you use force. And of course, surrounding surfaces shouldn’t be damaged either.
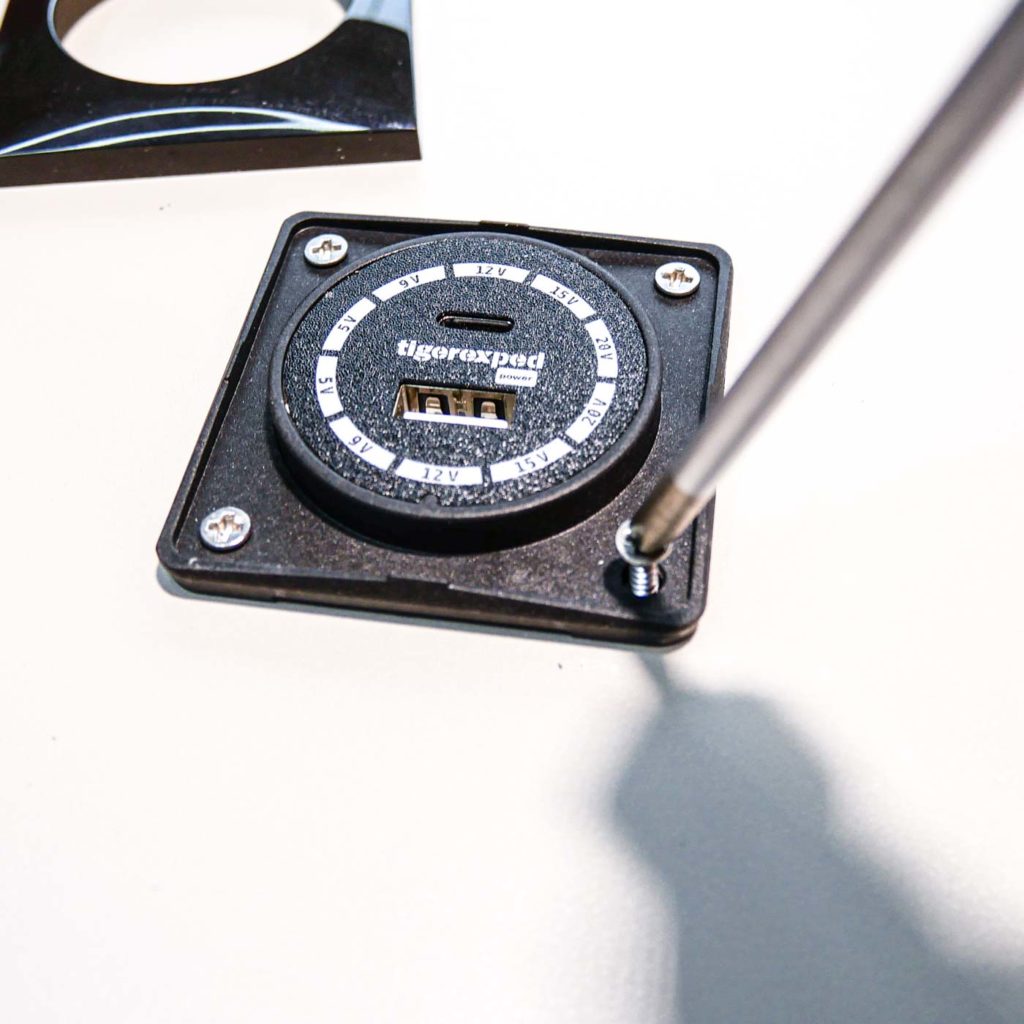
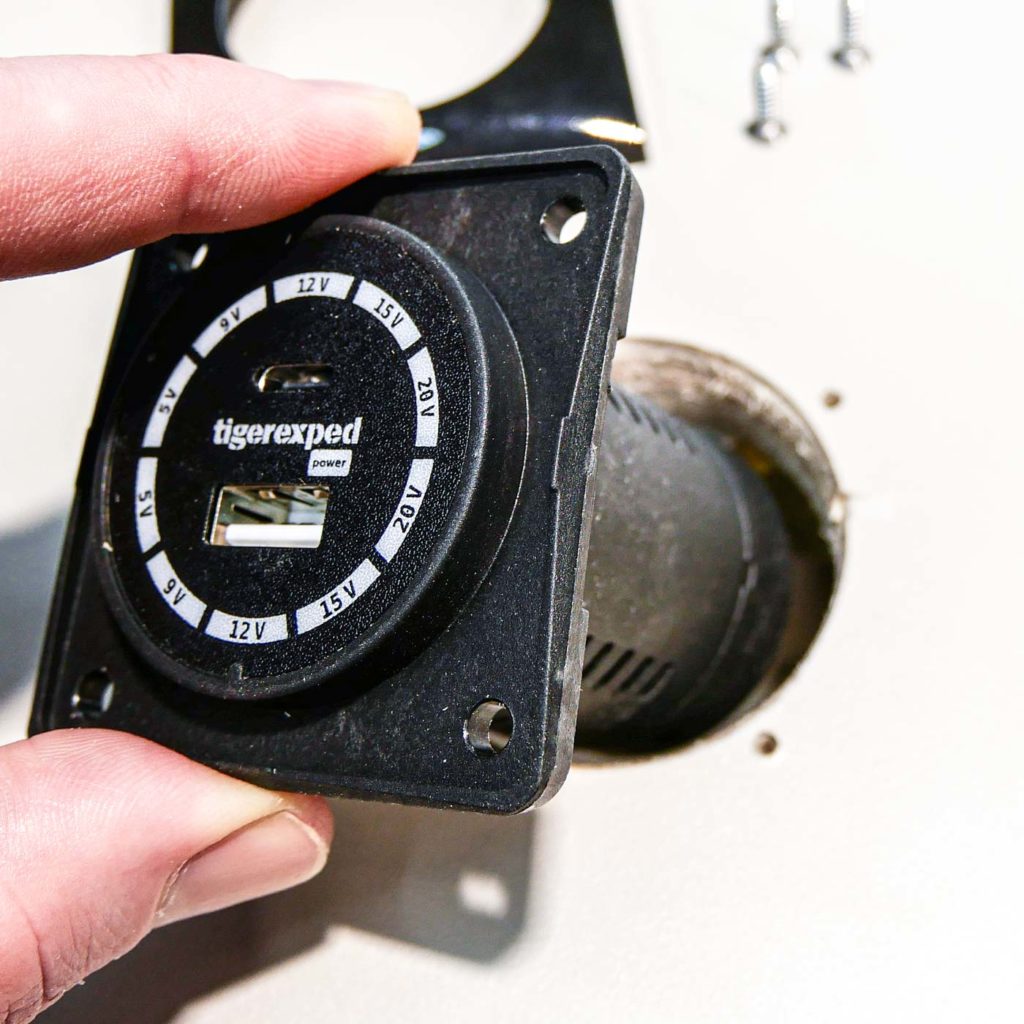
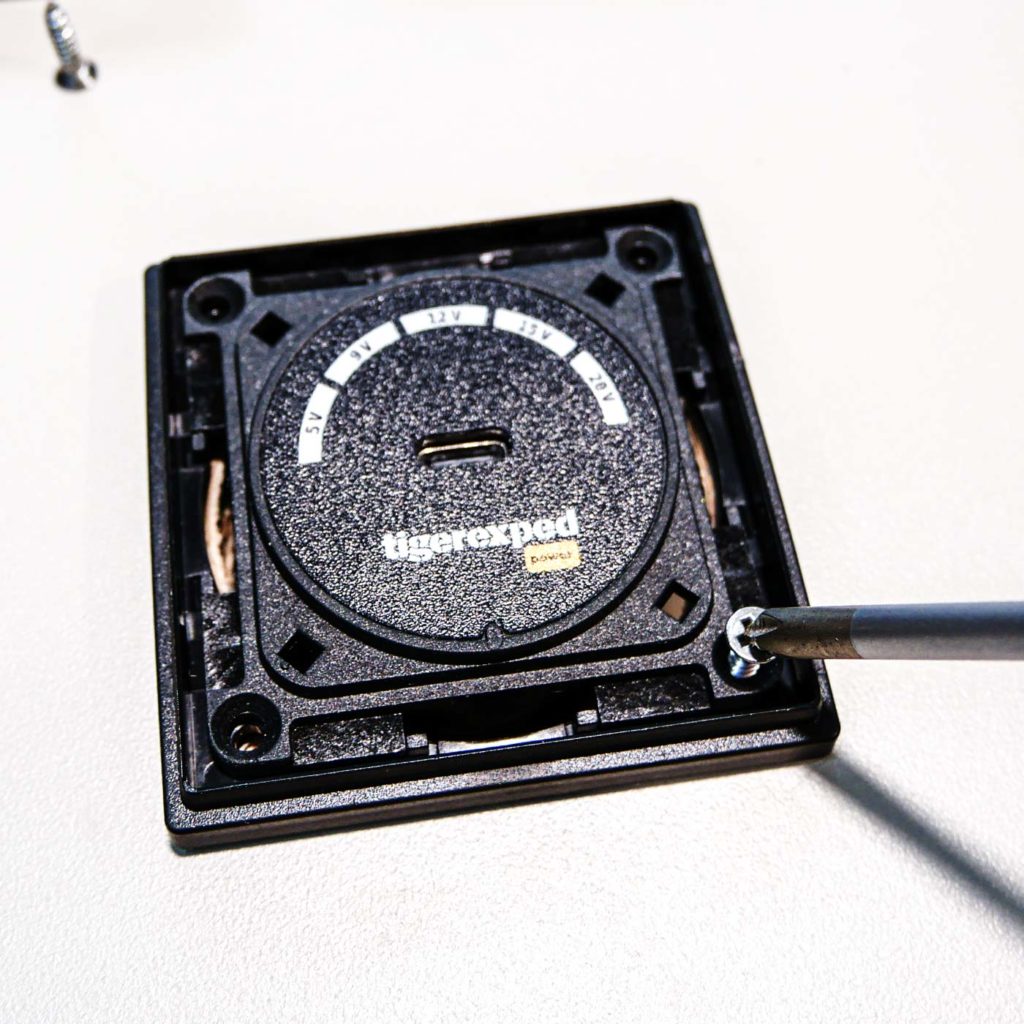
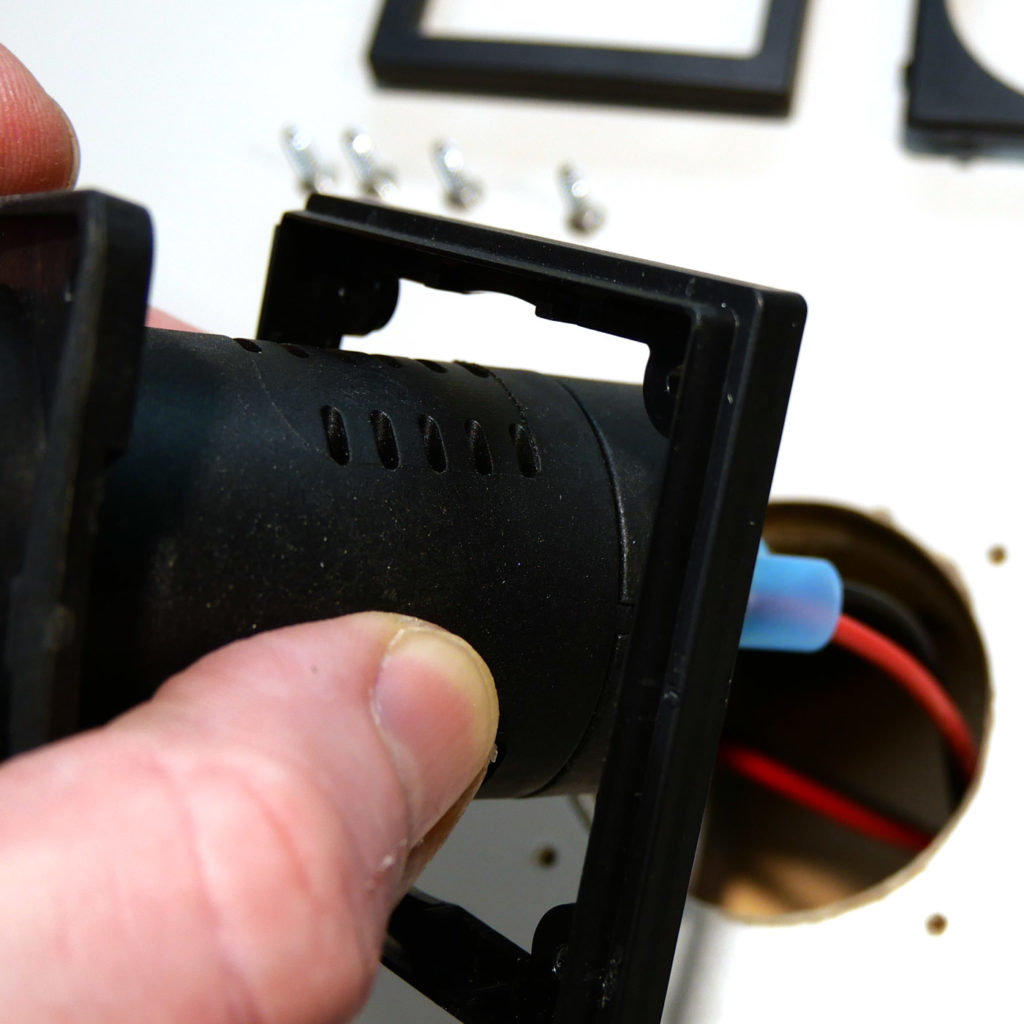
2. Unscrew and Take Out
Once the cover is removed, you can loosen the four screws underneath and take the convertiger out of its mounting opening.
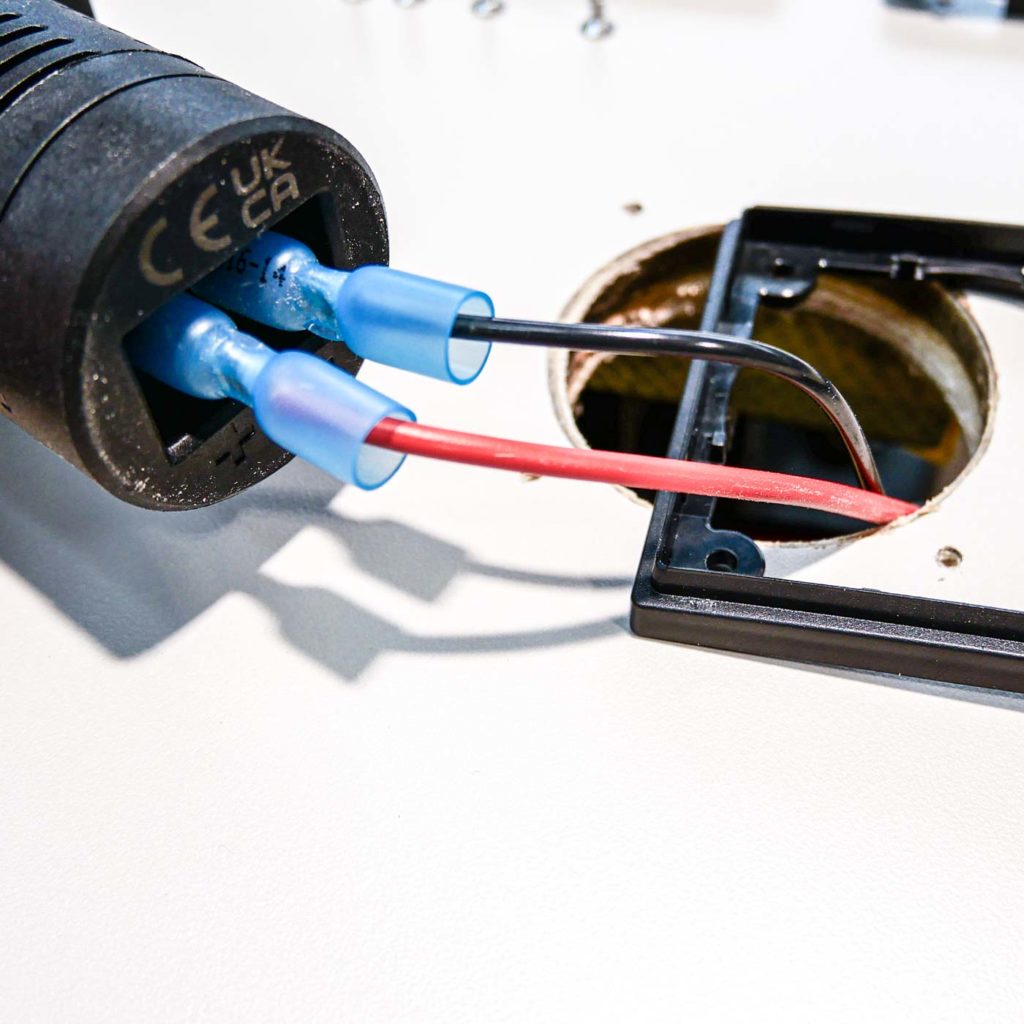
Step 2: Disconnect the Wiring
Pull off the connected cables.
At the ends there are currently still cable lugs – these are no longer needed for the new version, so we remove them in the next step.
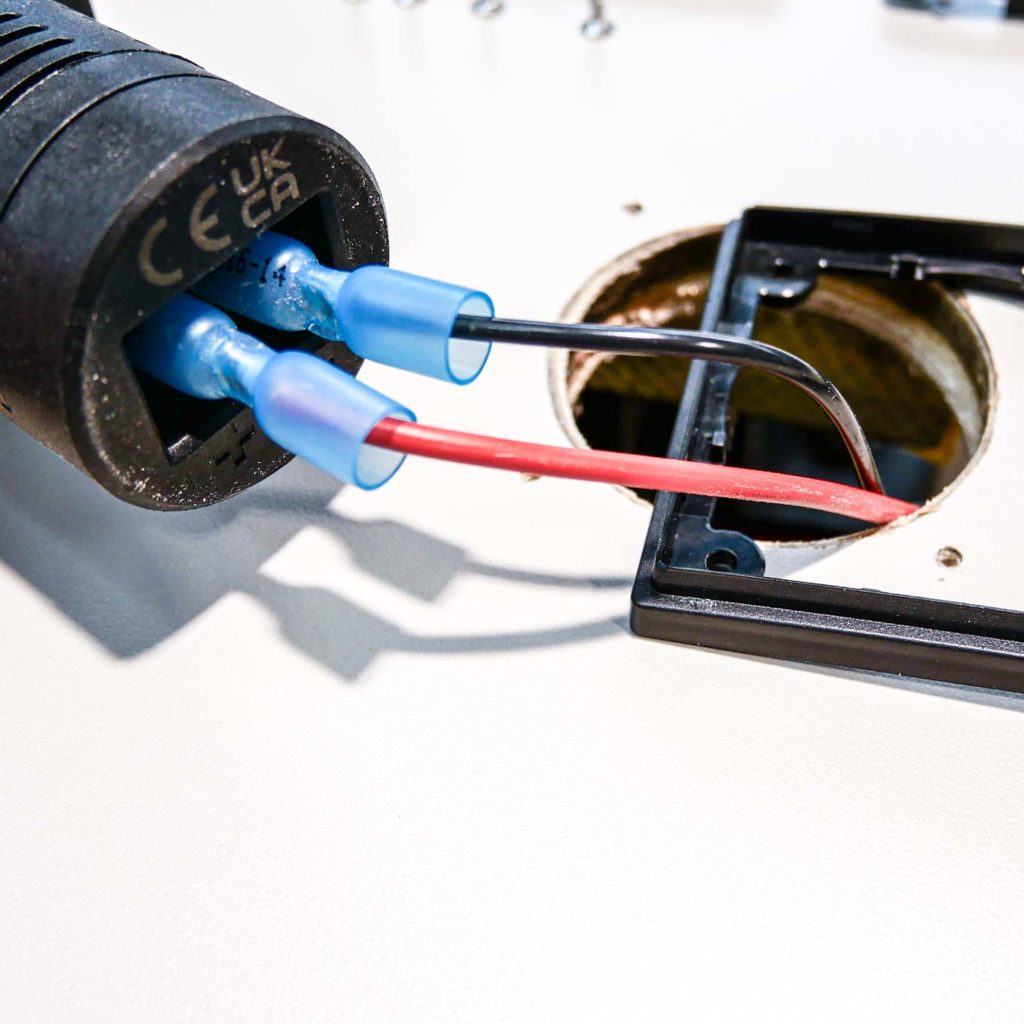
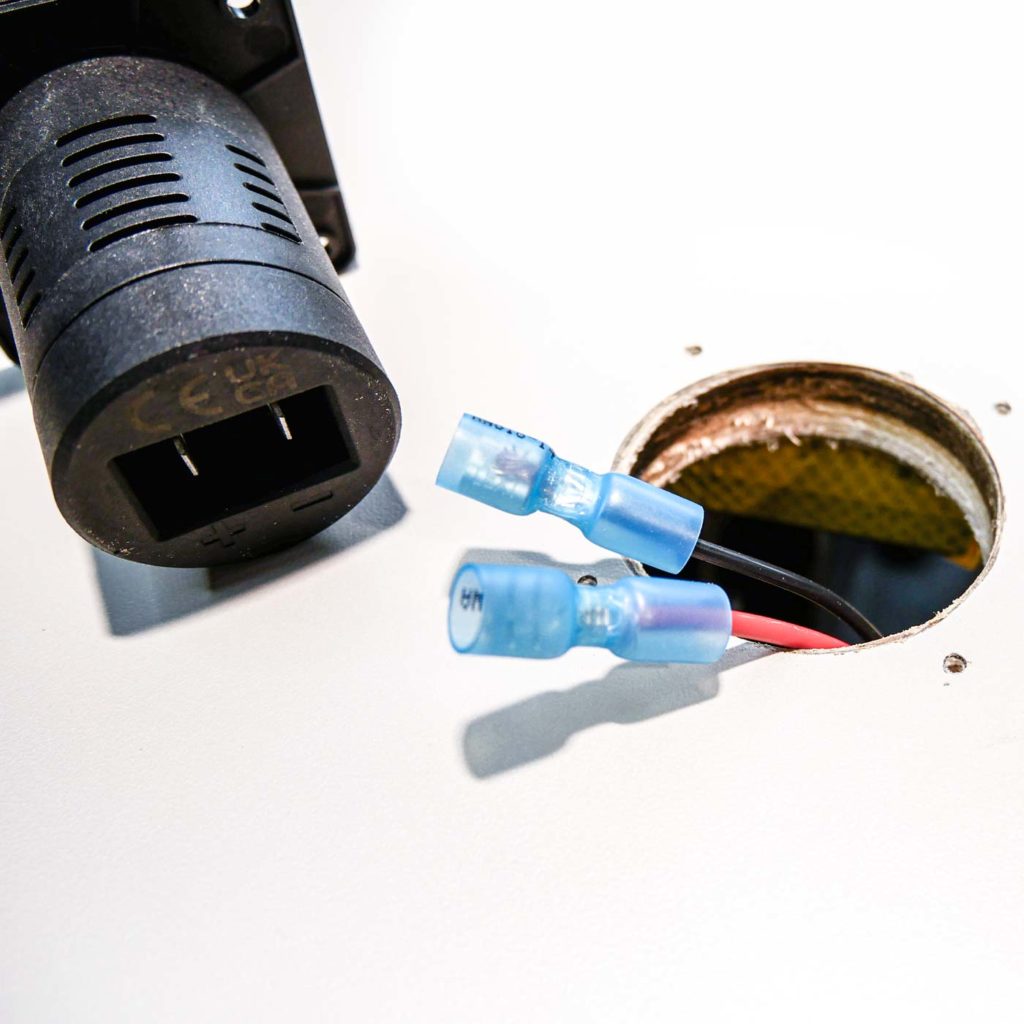
Step 3: Prepare the Cables
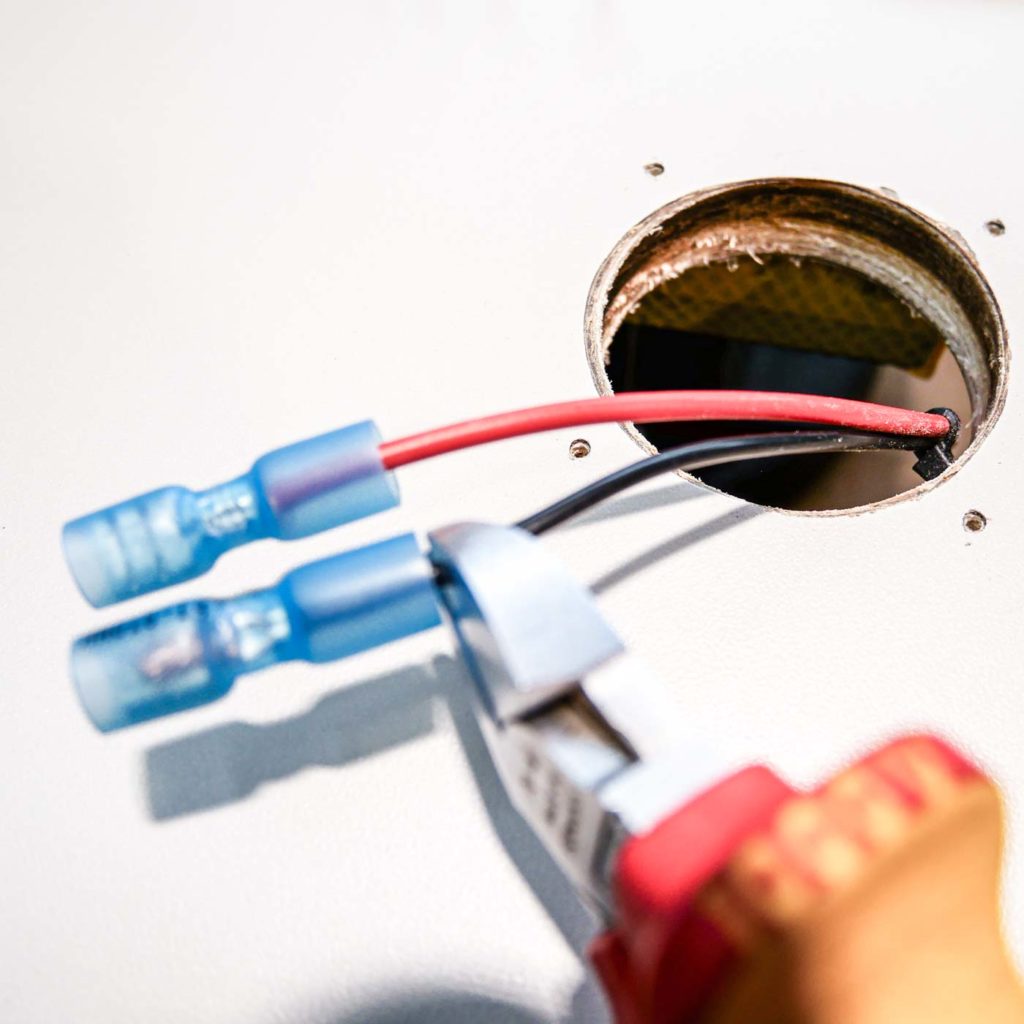
Cut off the existing cable lugs cleanly. Take care to lose as little cable length as possible.
Then strip the cable ends to approx. 12 mm. This is important so the clamp connection works reliably later.
Take care not to damage any strands, especially if you’re not working with a dedicated wire stripper.
Step 4: Connect the New convertiger
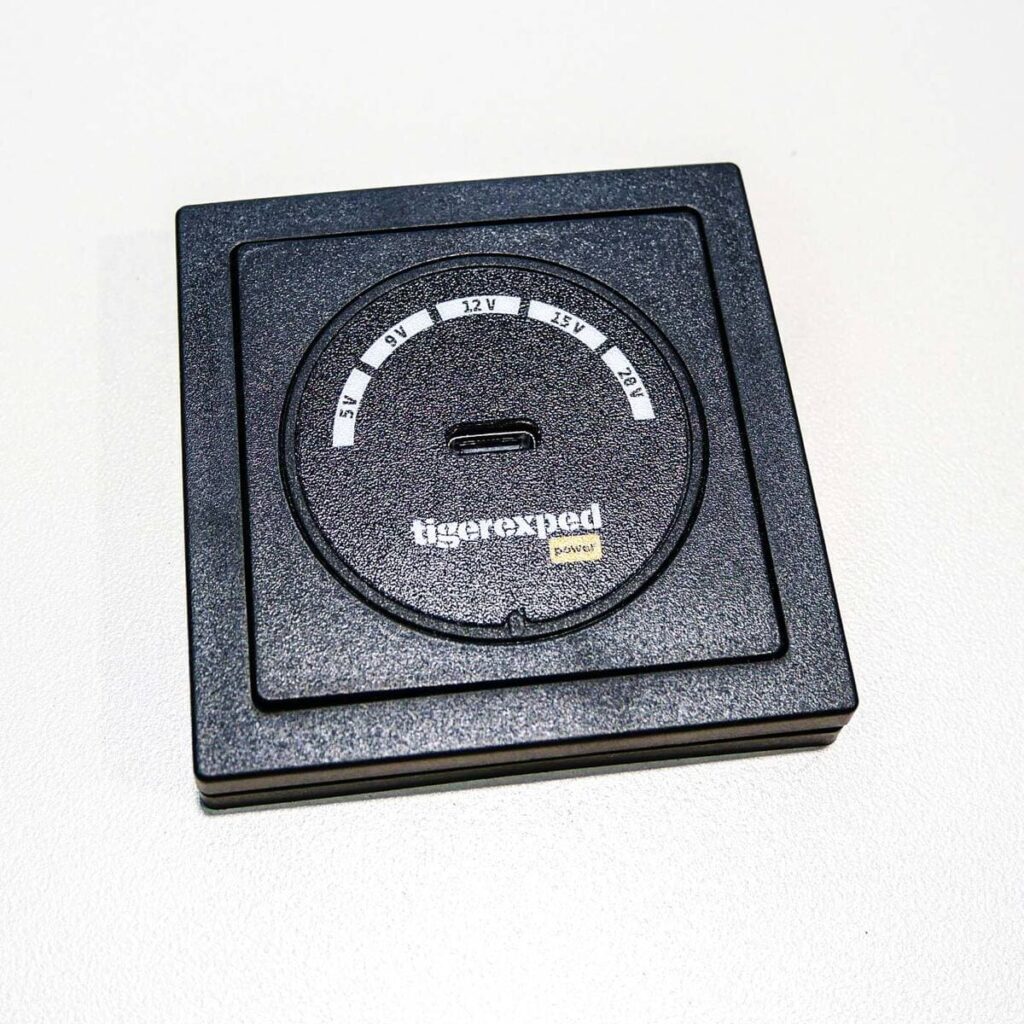
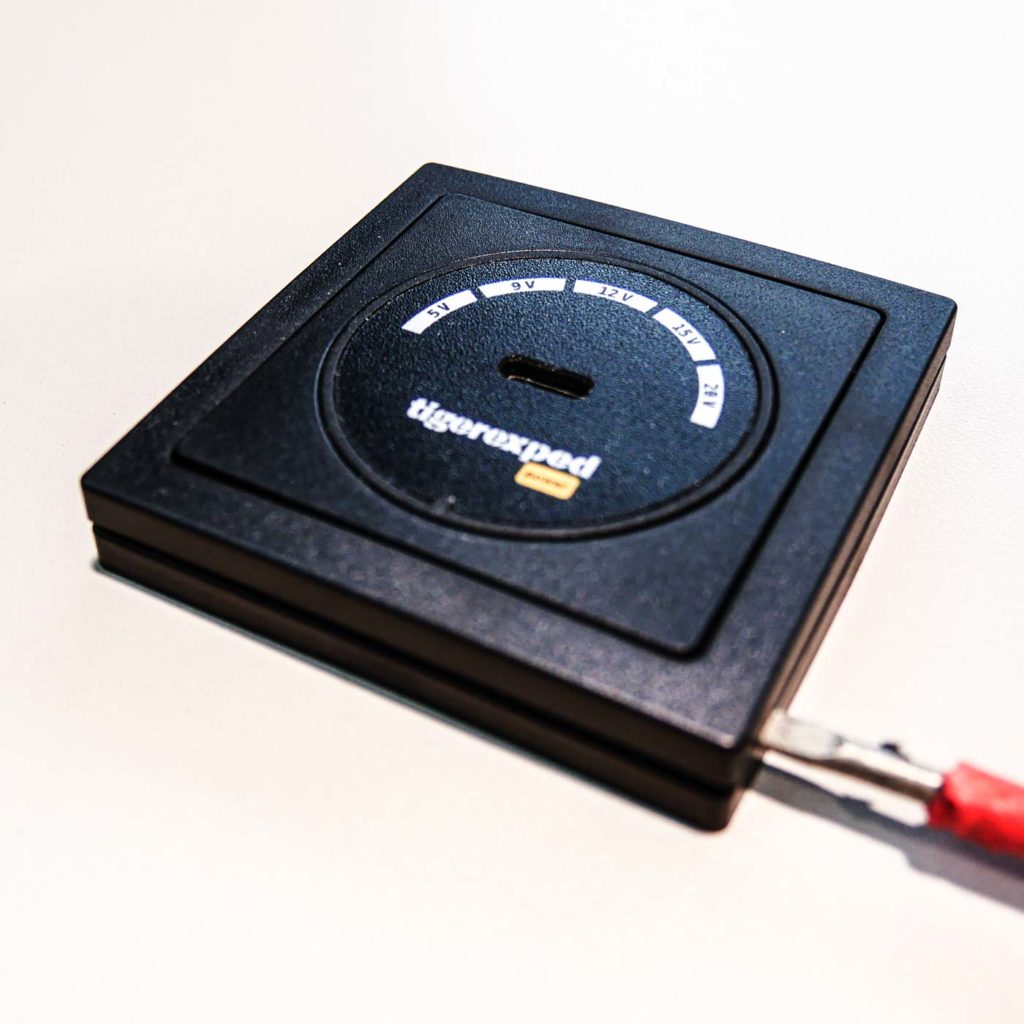
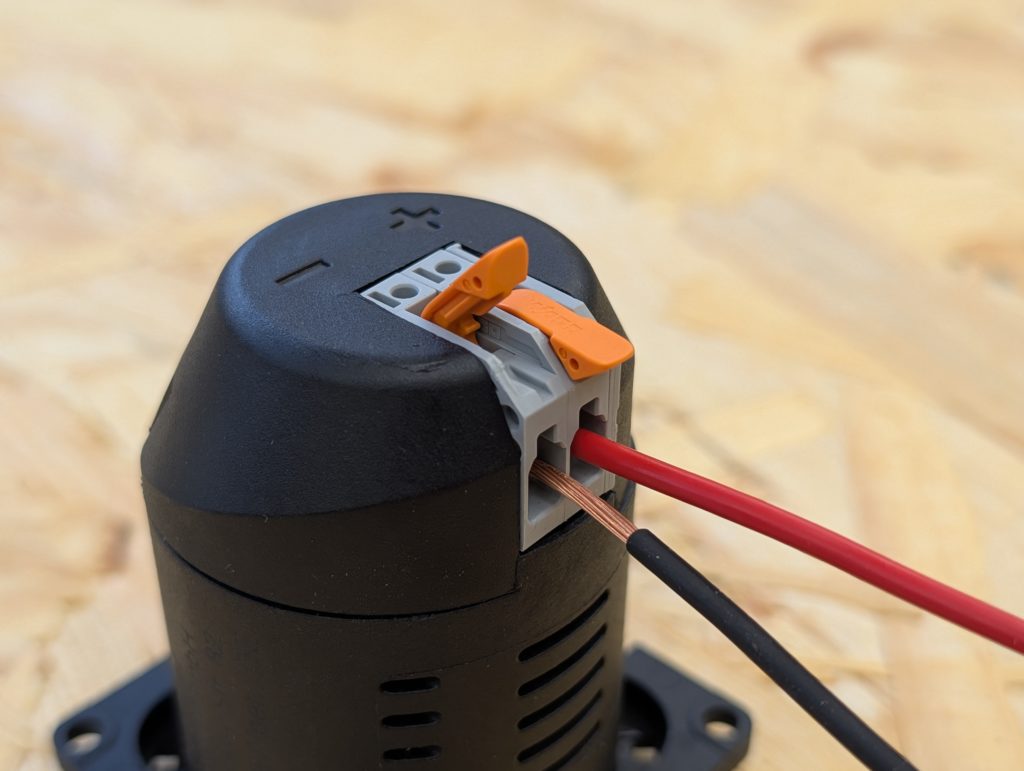
The new version has integrated lever clamp connections.
Here’s How to Proceed:
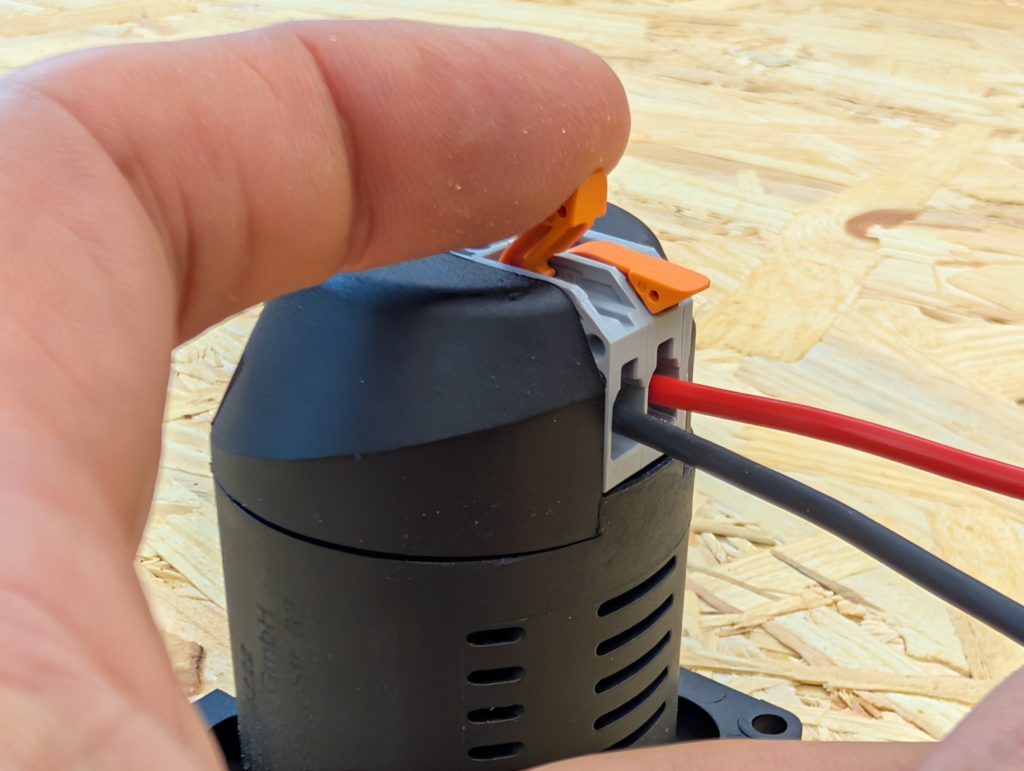
- Open the clamp lever
Attention: Please note that the levers have a maximum opening angle of 45°. If you try to open the levers further, they can be damaged or, in the worst case, break off. - Insert the 12 mm stripped cable fully.
The clamps are specified by the market leader Wago for a cable cross-section of up to 4 mm². With this cable size, avoid twisting the strands together tightly – if the strands can spread out in the connector to match the shape of the terminal, the connection works without problems at 4 mm². - Close the lever again.
The cable is seated correctly when:
- it can no longer be pulled out
- no bare strands are visible outside the clamp
Proceed the same way for the positive and the negative cable. The + and – markings directly above the lever clamps on the device show you where to insert which cable.
Why the Change?
The new clamp connections offer several advantages:
- tool-free connection
- secure, vibration-proof connection
- lower contact resistance
- faster installation
Especially in vehicles, reliable contact is crucial – here the new solution brings clear advantages.
Step 5: Installation and Finishing
Once both cables are connected, you can put the convertiger back into the mounting opening and screw it down.
Now refit the cover.
In the unlikely event that fitting the screw-on Inprojal frame is difficult and the hole seems too small: the original installation did not follow the dimensions of the drilling template. Don’t worry, the fix is very simple: either drill the hole out to the specified size (54 mm), or simply remove the latching tabs that reach into the hole and screw the frame down as it is – that works too.
Here are the manufacturers’ installation dimensions once more.
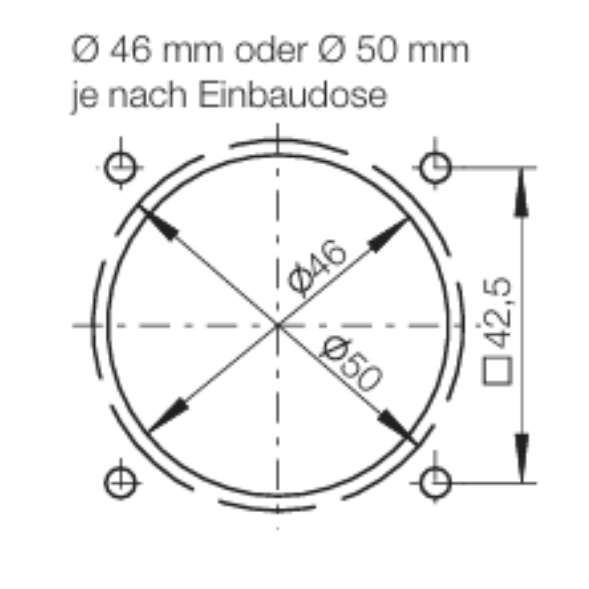
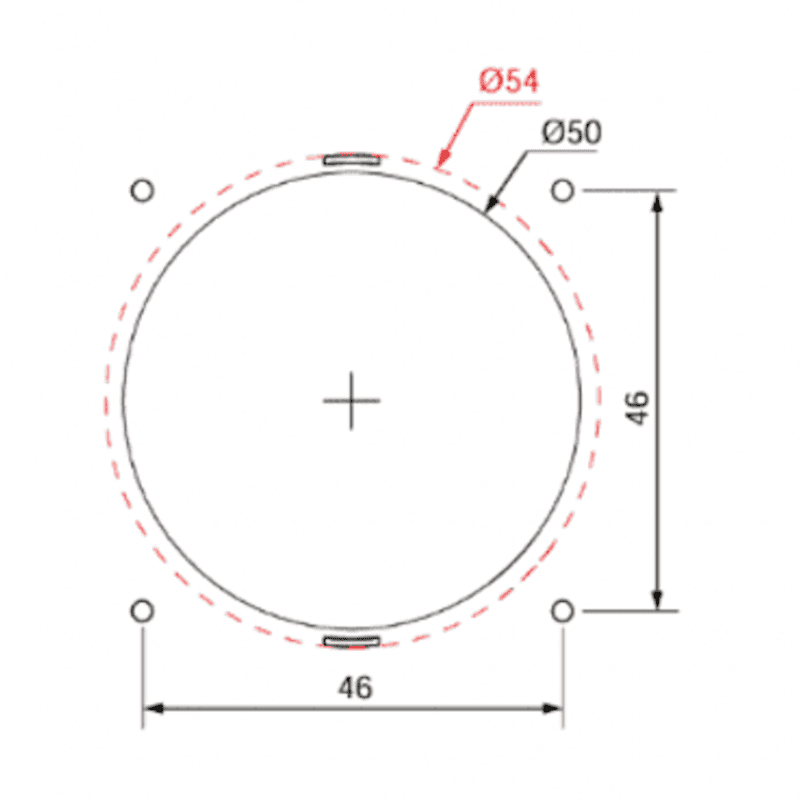
Right: Inprojal installation dimensions – here the lower frame with the latching tabs has to reach into the hole. We need the 54 mm specified by the manufacturer. If this was observed during the original installation, it fits exactly.
Once your socket is in place, you can restore the power supply and test the function.
Done. Any Questions?
We hope the swap of your convertiger went well and you enjoy the fast charging it makes possible.
If you’re unsure about anything or have questions, just get in touch with our customer service – we’ll help you out.
Related topics you might also be interested in: