
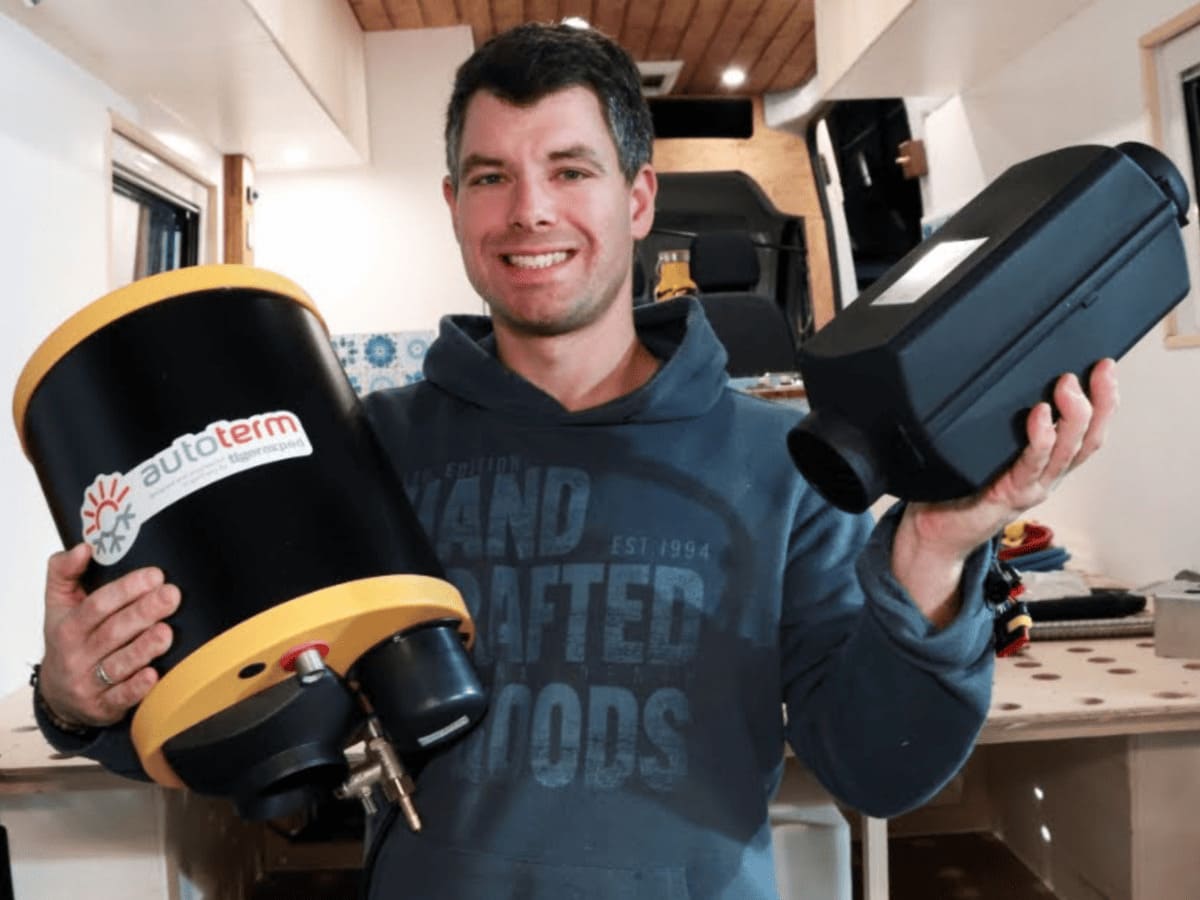
Tobi and Imke from the YouTube channel Abenteuer Vanlife have published a detailed video on installing our Hot Shower Kit 2.0, showing in detail how they install the included combiBOIL hot water boiler and the Autoterm Air 2D auxiliary heater in their Fiat Ducato.
While you should generally treat YouTube videos about such installations with caution, so that you don’t copy possible installation mistakes that can lead to malfunctions or even safety risks in your own vehicle, we can recommend Tobi and Imke’s video as a good installation example.
They share their approach and their own learnings so that you can benefit from them. The video can therefore offer anyone who wants to install our Hot Shower Kit 2.0 in their vehicle extremely helpful real-world insights from experienced DIY builders.
Installation Video
If you prefer to read: their blog also has a detailed, well-illustrated article on installing an auxiliary heater and hot water boiler – here is the article at Abenteuer Vanlife (German)
Tobi and Imke chose the Hot Shower Kit 2.0 in the configuration with the 2 kW auxiliary heater. They already know the heating output of the Autoterm Air 2D from two previous campers and say it was always more than sufficient. So they are quite sure this will be the case again in their Ducato L4 with a total length of 6 m.
They use the combiBOIL hot water boiler in the 9 l version with a 230V connection for operation via the inverter.
During installation, Tobi follows the recommendations of the kit installation manual closely, such as connecting the heater to the boiler in a straight line at a distance of at least 50 and at most 100 cm.
For the installation of the auxiliary heater itself, too, Tobi goes into valuable notes from the installation manual.
Tip on Connecting the Comfort Boiler Control Panel
For the control panel, Tobi and Imke use an extension cable.
Tobi recommends thinking of this optional accessory right away if you already know the control panel will be mounted more than 80 cm from the heater.
First Start of the Auxiliary Heater
Because of the large distance between the tank and the heater, it takes four start attempts until the lines are free of air and the heater runs properly.
This is completely normal. By the way, you can find more about the very first start of the Autoterm auxiliary heater, which problems can occur and what is completely normal, here:
Installing the Water Lines
Installing the water lines was the next step. Here our certified drinking water hoses were used. Tobi praises the flexibility of the hoses and says that, compared with the products he had used before, they are very easy to route.
The leak test then initially turned up a bigger problem – many connections turned out to be leaking.
On closer inspection, it turned out that the brass T-pieces they had used were the cause, because their diameter was 9 instead of 10 mm. Tobi and Imke replaced them with the T-pieces from our range, and from then on the connections stayed tight.
Two of these T-pieces are included in the Hot Shower Kit 2.0, by the way; you can order more here depending on the individual needs of your water installation.
Conclusion and What Comes Next
With the installation of their integrated heating and hot water system, the two are completely satisfied in the end.
It will be interesting to see where they head next with their new Ducato. Over the last 9 years, Tobi and Imke have already traveled through Australia, New Zealand, Canada, the USA, Central America, Europe and several countries in Southeast Asia. In that time they had eight different camper vans.
The two are therefore very experienced travelers and share the experiences of their past and future adventures on YouTube. Follow their channel Abenteuer Vanlife to see how it continues and to pick up plenty of good tips for your own travel planning.
Did you like this installation video? Then feel free to share it with like-minded people who may enjoy the inspiration, too:
You might also be interested in these posts:


