

It simply doesn’t run without it – and we mean that literally. In a motorhome, the pressure water pump has the crucial job of moving water from the tank to the taps, such as the shower and the sink.
Which other system components the water passes along the way and which components have to be installed at which point in the pressure water system, you can find out in our article on the layout of a pressure water system.
Here we want to focus specifically on the installation of the pressure water pump. We cover where it is best positioned in the vehicle and how it is wired.
We also share helpful tips on how to keep the noise down through proper installation, so your stay in the motorhome is more comfortable.
Pressure Water Pump in a Motorhome – Choosing the Right Installation Spot
After the fresh water tank, the pressure water pump is the first component of the pressure water system. So its place within the system is clear. But where is a good spot for the pump?
Positioning in the Room
Pressure water pumps are usually self-priming, so they can be mounted at a certain distance from the tank, even above the water level. Still, the best place for the pump is always as close to the tank as possible, because pressure water pumps are normally not as strong at suction as they are at delivering pressure.
If the pump is too far from the water tank, it may have trouble drawing in the water effectively. Being close to the tank optimizes the suction and takes less energy to move the water from the suction side to the pressure side. Vertically, the pump should not be mounted more than 2 meters above the water level.
To protect the pressure water pump from frost damage, we recommend installing it in the heated interior.
Accessibility
The ideal location for your pressure water pump should be easy to reach, even after it has been installed. This is especially important if you need to clean the pre-filter (which we will get to shortly), or want to winterize the system.
Also keep in mind that the pump produces vibrations during operation, which can cause connections to loosen. In general, connections in a vehicle are constantly exposed to movement and strong temperature swings, so it makes sense to be able to check and maintain them easily and thereby prevent water damage in the vehicle.
Over time, plastic connections can also become brittle and may even break. So pay attention to a certain level of material quality when choosing your pump.
Minimizing Noise
A pressure water pump makes a clearly audible running noise. Besides choosing a low-noise pump, there is quite a bit you can do to make it less audible.
Some of these measures also relate to choosing the right installation spot, but they are more optional.
Choosing the Mounting Surface
Mount the pump on a solid surface that does not absorb the pump’s vibrations or even amplify them by passing them on to other structures. In general, mounting on the floor panel gives the best result. If you install it on partition walls, in cabinets or on other free-standing objects, expect more noise from the absorbed vibrations.
Sound Insulation
The area around the pump can be lined with sound-absorbing material. This helps reduce vibrations and noise. Leftovers from your wall insulation (even though it generally has better thermal than sound-insulating properties) can be useful here.
Important:
If you take sound-insulating measures like these, make sure that the space around the pump is still sufficiently ventilated so that the heat can escape. Overheating of the pump can not only raise the noise level again but, over time, also lead to failures.
So if you install the pump in a cabinet, for example, don’t stuff the gap between the pump and the cabinet wall full of Armaflex in the hope of no longer hearing the running noise, but always leave it enough air to “breathe”.
Mounting
Make sure the pump is properly secured. Loose or poorly mounted pumps can cause additional vibrations and noise.
For minimal noise emission from vibration, our own tigerexped pump comes with flexible mounting points. To benefit from this, the screws must be tight enough to fix the pump securely, but the mounting feet must not be squeezed too hard, otherwise the cushioning effect of the flexibility is lost.
To reduce noise further, a pad can be placed under the pump.
Mounting Orientation
A 12V pressure water pump for motorhomes can often (always check the manufacturer’s specifications!) be operated regardless of its mounting orientation. It can be installed lying flat, hanging or upright.
If you mount the pump on a wall instead of lying flat, the pump head (the part with the hose connections) should point downward, so that in case of a leak no water runs into the pump’s motor.
Connection Materials and Accessories
Besides choosing the right pressure water pump and positioning it optimally, there is another essential piece of the puzzle for the whole system that determines the quality and longevity of the installation: the connection materials and accessories.
Hose Lines
We recommend using a flexible hose line system rather than rigid pipes in your travel vehicle. It is not only cheaper, but also lighter and safer, and much easier to maintain on the road.
If you still want to run rigid pipes, use at least a piece of hose line (at least 50 cm) directly at the pump. Otherwise the vibrations of the pressure water pump are transferred to the rigid pipe, which can damage the connections and cause leaks – not to mention a higher noise level.
Pre-Filter
A pre-filter must be connected to the pressure water pump directly before the pump inlet. It protects the pump from contamination by coarser particles and from the failures these can cause.
The pre-filter is really important, which is why it comes included in the scope of delivery of our tigerexped pressure water pump.

Accumulator Tank
An accumulator tank protects your pressure water pump, because it makes sure the pump doesn’t have to start up for every drop of water.
At the same time, it provides a more even water flow and quieter operation of the pressure water system overall.
It is connected after the pressure water pump, on the side facing away from the pre-filter.

Clamps for Connecting
So-called single-ear clamps with insert ring are definitely preferable to the common screw-type hose clamps. They apply even pressure around the point to be sealed and are generally made of higher-quality material (less prone to rust).
You need a special pair of pliers to close them, and they can only be opened with side cutters – but the quality of the seal is more than worth the effort.
Sealant
With the precisely machined threads of high-quality pumps, no sealant is necessary.
If you do want to use, for example, PTFE thread sealing tape, keep in mind that the thread can shear off pieces of the sealing material when it is screwed in – these can then get straight into the pump from the suction side. For the same reason, go easy on liquid sealants that harden afterward.
Electrical Connection
Before you start the installation, disconnect the power supply in the motorhome completely to make sure there is no electrical voltage present.
Use a separate circuit with its own dedicated fuse for the pressure water pump, with no other loads on it.
Cable
Cut the appropriate cable to run from the power source to the pump (preferably in red, so it can easily be identified as the positive lead later). The power source (more precisely, the start of your positive cable) will usually be a 12V fuse holder acting as a distributor, not the battery directly.
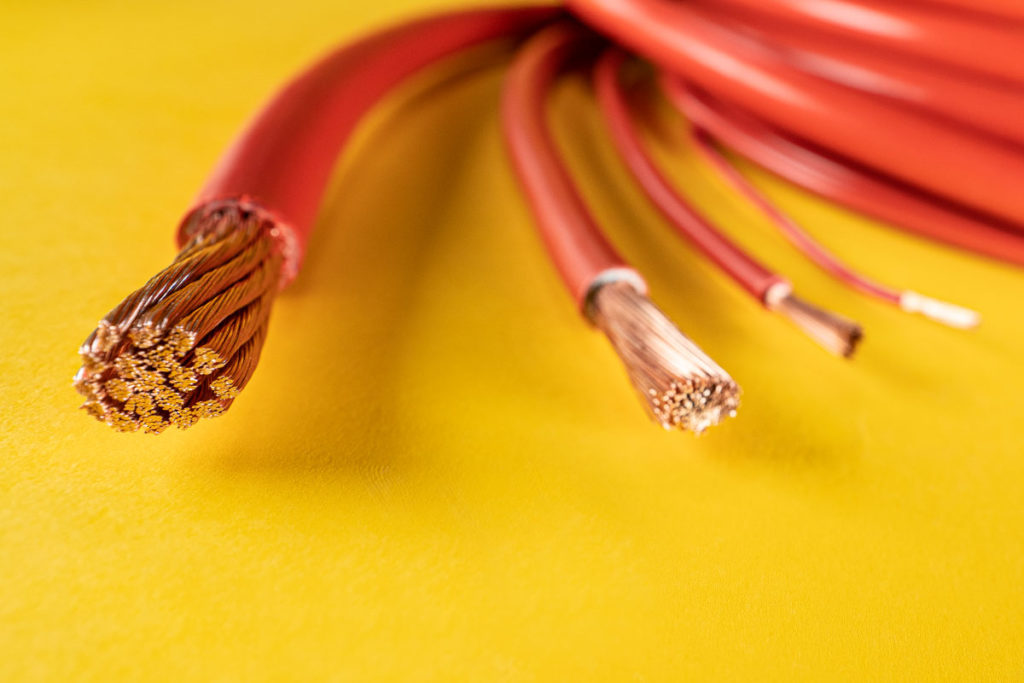
Using the required cable length and the current draw or electrical power of your pump from the data sheet, you can calculate the cable size to use.
Here is how:
Update, October 2026:
To make your work easier or to check your calculated results, you can now use the tigerexped cable and fuse calculator. It is designed specifically for the camper use case and takes pitfalls such as the installation method into account directly.
For our tigerexped pressure water pump, the matching cable cross-sections are, for example, as follows:
0 – 6 meters – 2.5 mm²
6 – 9 meters – 4 mm²
9 – 15 meters – 6 mm²
15 – 19 meters – 10 mm ²
Connect your positive cable to the positive terminal (red cable end) on the pump, and likewise a (black) negative cable to the negative terminal (black cable end) of the pump. These connections are usually made with terminals (e.g. from Wago) or screw connections.
Fuse
Install a fuse in the positive lead between the power source and the pump (usually in the slot of the distribution box that belongs to the terminal where you connected your positive lead). The size of the fuse should match the manufacturer’s specifications.
Testing
Check the connection after installation. To do this, measure the voltage at the pump with a multimeter while it is running. The measured voltage should never be more than 4% below the current battery voltage.
Making the Pump Switchable
Put a switch in the positive lead so you can conveniently turn the power to your pump on and off. We recommend always cutting the power when you leave the vehicle and when, for example, in a closed living cabin you can’t tell what is happening in the cabin while driving.
Otherwise, with an unnoticed leak, the pump will do what it is made for and keep pumping water until the supply is used up, which can lead to considerable water damage!
Install the switch after the fuse, as shown in this diagram.

Place the switch somewhere you can reach easily. If the switch is hard to get to, you will eventually stop using it out of convenience – and be even more annoyed when you could have avoided it and the entire contents of the fresh water tank actually ends up pumped into the living space.
Low-profile switches for up to 20A, possibly with an LED indicator so you can see at a glance that you still need to operate the switch before driving on, are very well suited for this, for example.
Pump Settings
Even if your pump allows you to change settings: definitely leave them as they are for now. The factory setting of a high-quality 12V pressure water pump usually suits the requirements of a motorhome pressure water system very well. Apart from exceptional cases, adjusting it tends to make things worse rather than better.
Commissioning
Your pump should be delivered dry, so that no germs can develop inside it before it is used in your vehicle.
When you switch it on, water first has to be drawn in and the pump body has to fill. So on first start-up it takes a short moment until water actually flows from the taps.
Takeaways from This Article
What matters when installing a pressure water pump in a motorhome is correct positioning and a proper connection. Here are some key points you can take away from this article:
Positioning: Place the pump as close to the water tank as possible to maximize suction and minimize noise.
Noise control: The operating noise is sometimes perceived as annoying. With careful mounting, insulation and vibration-damping measures, you can reduce it considerably.
Electrical connection: Proper wiring of the pump is crucial for performance and safety. Make sure to use the right cable sizes and fusing.
Switch placement: Put the switch for the pump somewhere easy to reach, so you can turn the pump off while driving or before leaving the vehicle.
Connection materials and accessories: Don’t underestimate the importance of the pre-filter and of high-quality clamps and other materials used in the pressure water system – they all have to cope with constant vibrations, strong temperature swings, pressure and so on.
All in all, installing a pressure water pump is a job that, following the tips in this article, is very doable even for a beginner. You can find more worth knowing about the water system in our article recommendations.
Did this article help you? Then feel free to share it with like-minded people and friends who will also appreciate the information in it!
You might also be interested in these topics:


